Easy two ingredient face mask

I have tried a lot of face masks, expensive ones and cheap ones. They never seem to deliver on what they promise. Maybe I have high expectations, but I have always thought of face masks as a reset, they get my skin perfectly hydrated and help clear pores and help heal blemishes. Otherwise, what the heck is the point, I’m a mom I don’t have time for something that isn’t gonna get me rockin’ in 15 minuets or less. I also am not a spa girl, not because I don’t want to go to a spa, but because it’s that or buying groceries for the month. I think my family would prefer to eat. 

Enter the best face mask ever. This bad boy is hydrating, fights clogged pores, acne and aging and you probably have the ingredients in your pantry right now. Yep, no loading the kids in the car to search for the magical ingredients or logging into Amazon Prime to get them here tomorrow. What are these ingredients? Honey and Baking Soda, yep that’s right you don’t even have to put down your wine to go look. 

Benefits of Honey

Honey is truly magical, this yummy liquid gold made by bees also has amazing benefits for your skin. Honey is an antioxidant, anti inflammatory, has antibacterial properties and according to Women’s Health is something called a natural humectant, meaning that is draws moisture out of thin air. How cool is that! What does all this mean for you? Honey will reduce the look of blemishes and scars, fight bacteria that causes acne and pull moisture out of thin air for your skin to absorb. The anti oxidants and enzymes naturally fight the appearance of aging. 

What’s the catch? Ok, so there is a very small catch, it has to be raw honey. So you may have to set your wine down and double check on that. Sorry. Pasteurized honey is heated and that process will take some of those awesome things out of your honey. Look for raw honey in the grocery store. I generally stock up on local honey during the summer at my farmers market. 

Benefits of Baking Soda

Baking soda is another awesome staple with so many uses. We use baking soda tooth paste for the same reason that you would want to use it on your face it has natural antibacterial properties that fight bacteria in your mouth that cause tooth decay and will fight it on your skin to prevent acne. The other benenfit of baking soda is that it is alkaline and our skin is naturally alkaline as well, so if your pH is out of wack it will get you back on track. If you are interested to know more about it you can learn about the benefits and risks of baking soda for skincare from an actual health professional on HealthLine

Honey Face Mask Recipe

It’s easy and I generally just eyeball it so don’t worry about being super exact. I also only make this in small batches when I need it, because there is a chemical reaction and after a few days you will want to whip up a new batch. You might want to adjust to make smaller or larger batches depending on you needs. 

HoneyFaceMaskIngredients

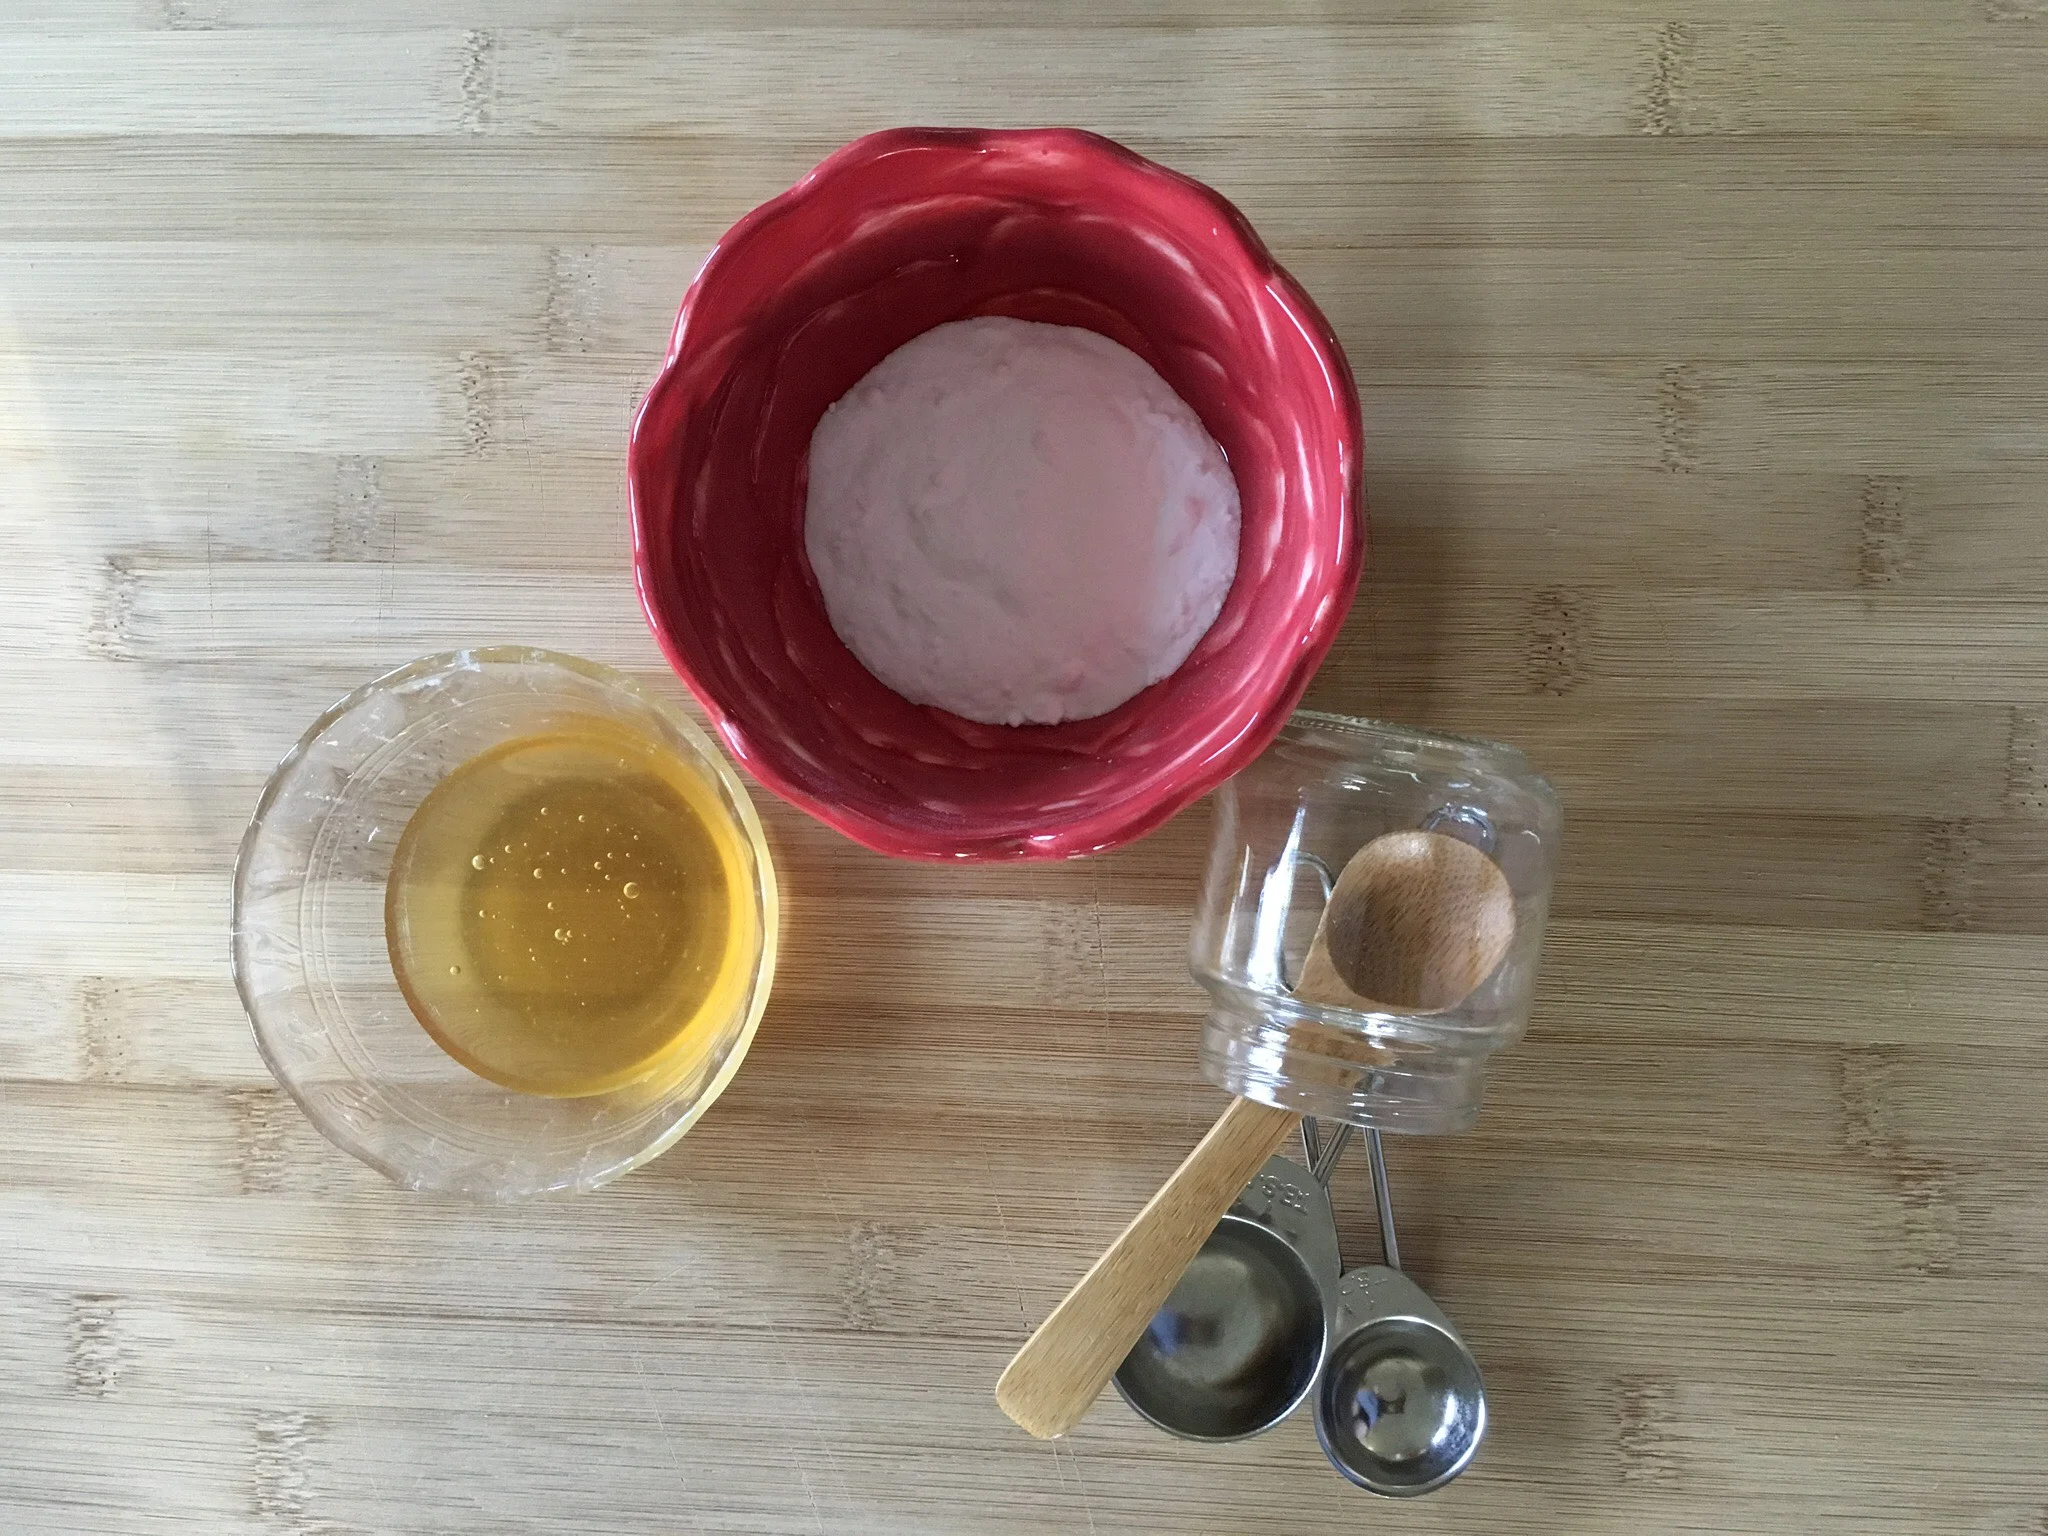
You will need a small glass jar with a lid, baby food jars are perfect, but any small jar with a lid would work. A popsicle stick, spoon or your finger for mixing (wash your hands first you dirty girl). A tablespoon and a teaspoon for measuring.

2 tablespoons Honey

1 teaspoon Baking Soda

HoneyFaceMaskMix

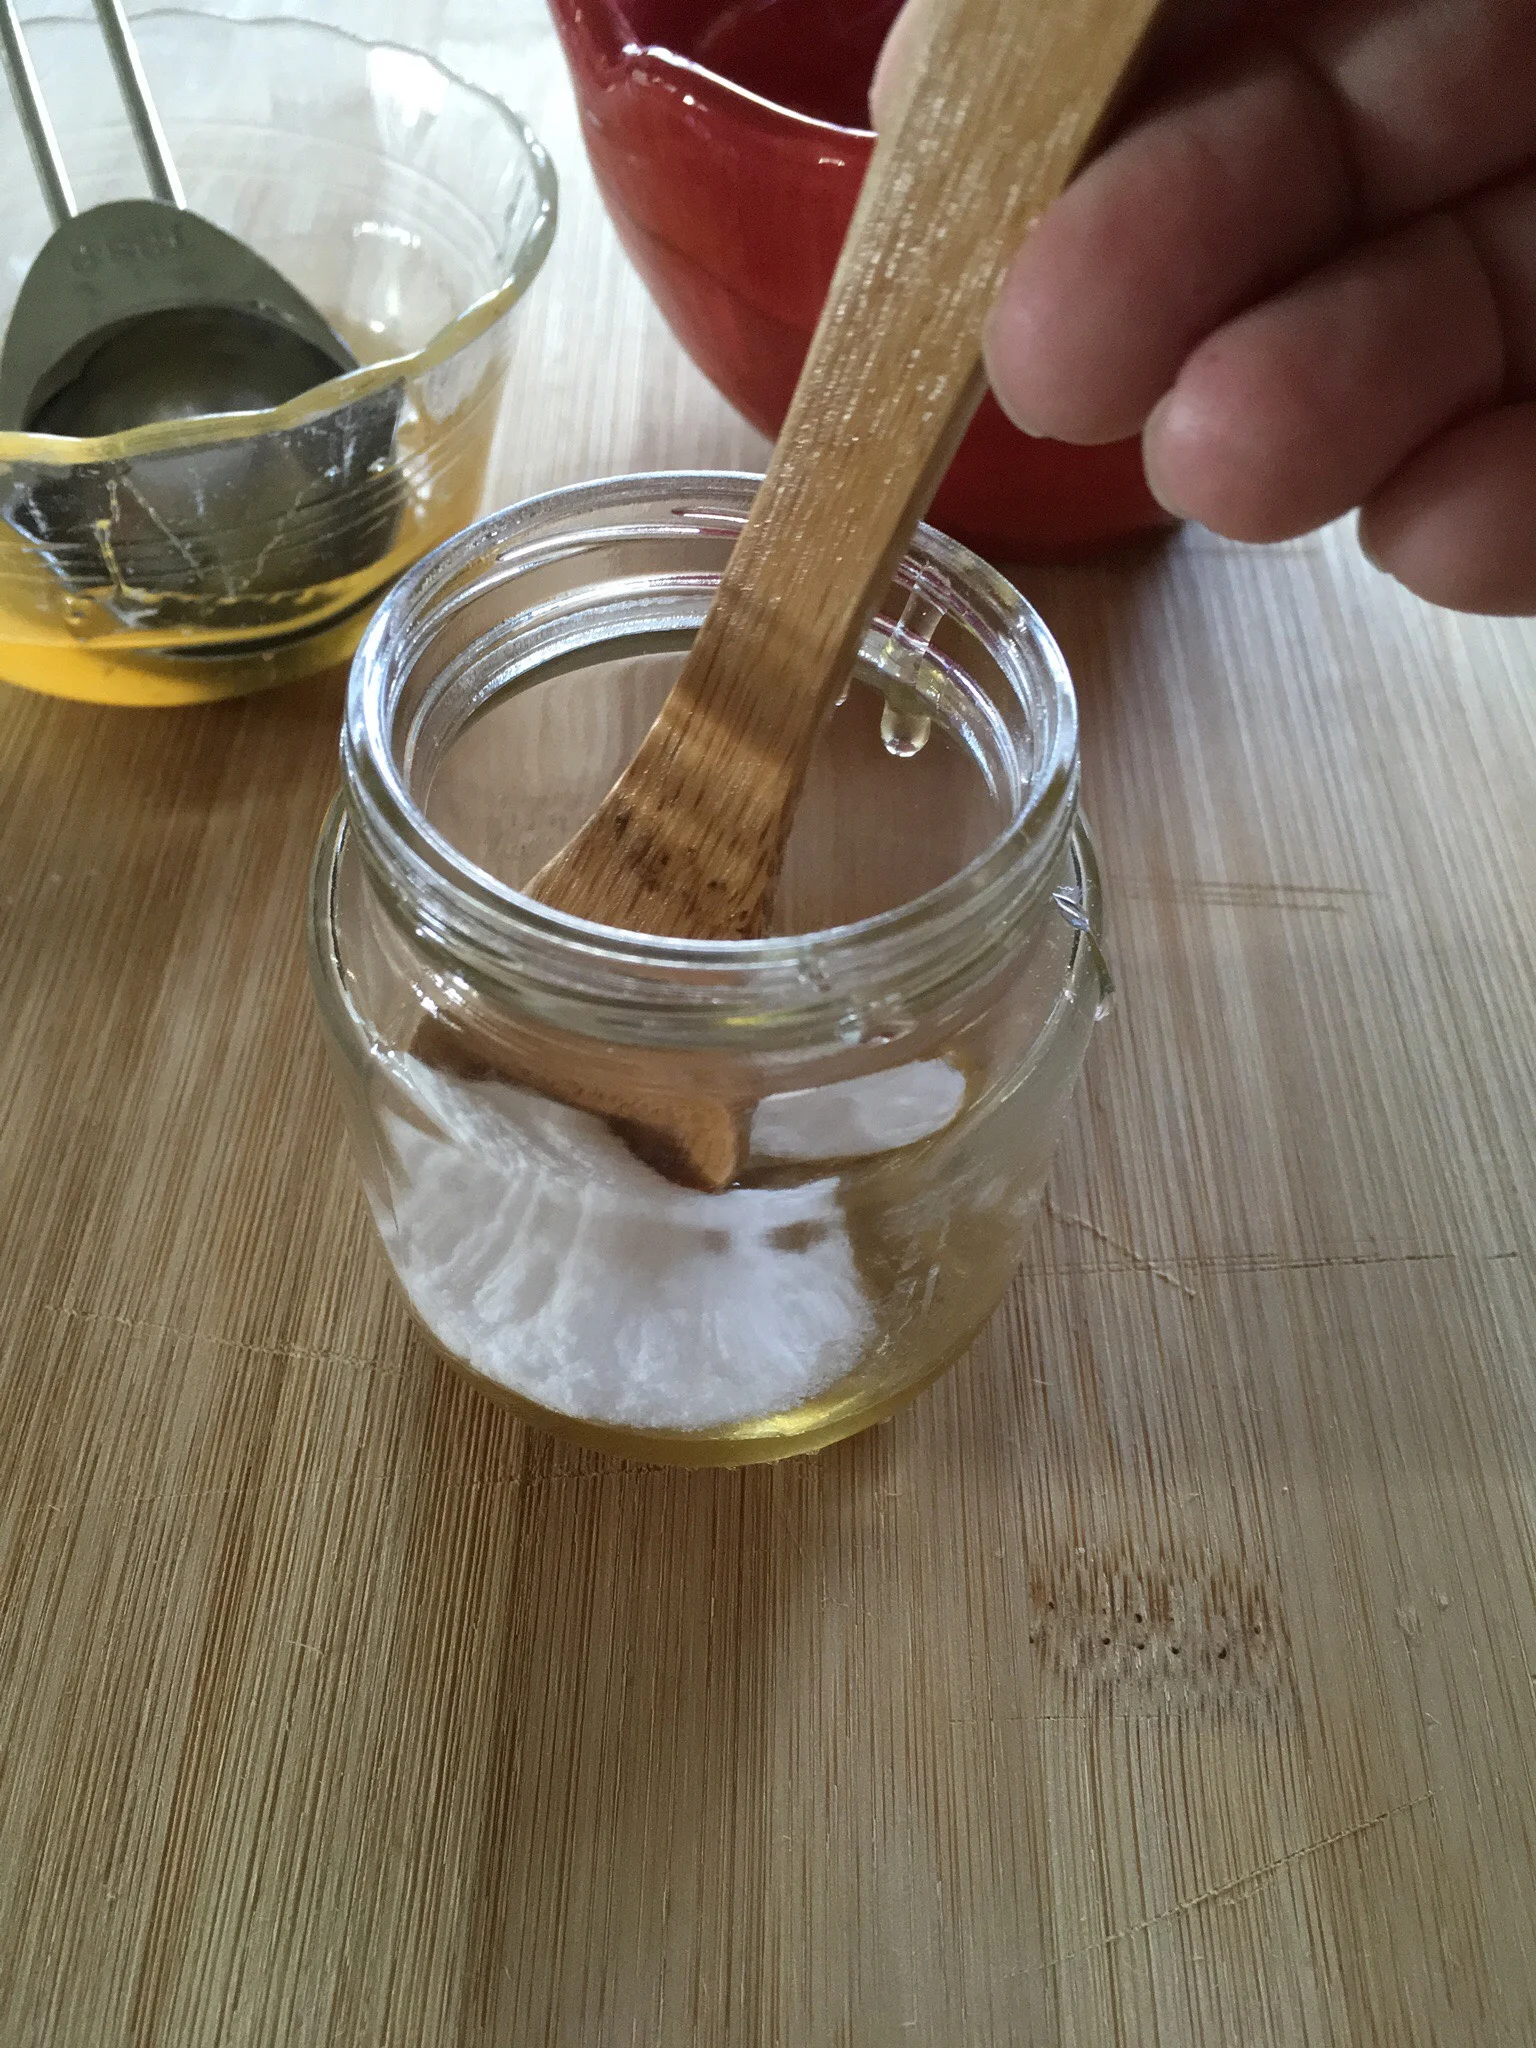
Add the honey and baking soda to the glass jar, mix until combined. The mixture will start to react and look light in color and create a foamy honey mixture. The longer you let it sit the more it will react and grow. I like to wait 15 to 30 minutes for the mixture to double in size before use. 

HoneyFaceMask_15.jpg

To apply simply scoop some out of the jar and smooth over clean skin. Don’t rub this mixture into your skin (if you read 5 Skincare Lessons I Learned in My 30s, you know I don’t like abrasive exfoliators) baking soda is abrasive and can scratch your skin, so be gentle and smooth it on in thick strokes. Leave on for 5 to 10 minutes and rinse off with warm water and a wash cloth. 

IMG_0441.JPG

Be advised this is made out of honey that will heat on your skin and become liquid, so don’t wear your favorite shirt or the blazer you are planning on giving a presentation in at work.

Enjoy your beautiful skin!

Reference:

https://www.womenshealthmag.com/beauty/a19946109/beauty-uses-for-honey/

https://www.healthline.com/health/baking-soda-acne

Easy two ingredient face mask

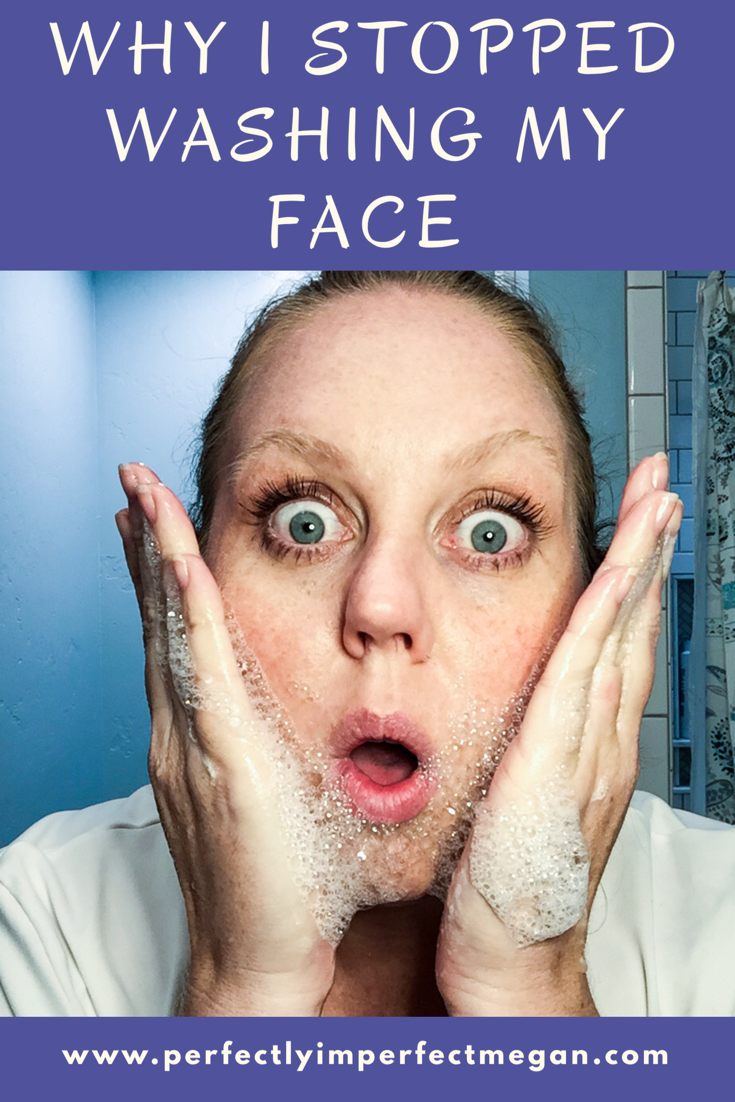
Why you should stop washing your face

IMG_8335.jpg

I stopped washing my face about 6 months ago and I wondered why I didn’t do this 20 years ago? My skin is the best it has ever been at 35 years old! Why did no one tell me when I was 15 and had teenage acne to stop washing my face? So I’m telling you now!

Stop washing your face!

Ok, so I do cleanse my face once a day, I use a gentle non-foaming cleanser at night. Only at night, my face isn’t dirty in the morning, so no need to wash it.

Why did I make this switch in my skincare routine?

I have always thought that I had combination skin, really oily in my T-zone and dry everywhere else. I had frequent breakouts and even more severe hormonal breakouts. Hated my skin, I struggled with makeup it wouldn’t stay on the oily parts of my face and clung to the dry patches. I had always believed that oil was the enemy. So, as a teenager the more I broke out the more I would wash my face, the harsher the cleansers I would use. I used gritty exfoliating acne wash that I paid hundreds of dollars for and my skin only seemed to get worse.

Like most Americans I was washing my face twice a day. This over cleansing was doing more to damage then good for my skin. I was stripping the natural sebum in my skin, sebum is produced by glands under your skin and secreted through the pores. This oily, waxy sebum is what naturally hydrates and causes skin to be waterproof. Harsh cleansers strip the sebum and can cause the sebaeous glands to work overtime to produce more sebum. This over production causes clogged pores and breakouts and less hydration causes the dry flakey patches.

Tres Leches for the Win!

Photo Mar 10, 5 16 11 AM (1).png

 I was given the Tres Leches skincare system to try, non-foaming mild cleanser, toner and moisturizer. The recommend use was nightly use only. So I switched to this new routine, but clinging to what I had always know I kept cleansing two times a day. It was a difficult change for me, I was used to the tight clean feeling of a soap or harsh cleanser. My skin seemed oily and my makeup seemed to melt off during the day. I thought, I guess this just doesn’t work for my skin type. Instead of stopping and going back to my old routine, I though, I’ll give it a try as they suggested. So, I gave up cleanser, tonner and moisturizer in the morning. I just quickly rinse or wipe my face with a damp cloth and put on my makeup. The difference was amazing! No more dry patches, no more oily, oily T-zone and my breakouts are primarily hormonal with the rare lone zit. The breakouts I do have seem to clear up quicker than they did before.  My makeup goes on smooth and stays on throughout the day. For the first time in my adult life feel like I can leave the house without makeup (ok, ok I still can’t leave without mascara).

The textured skin that was always on my forehead and my chin from blackheads or whiteheads forming is all gone. My skin is smooth!! I am getting complements on how great my skin looks! So, even if you are 35 with kiddos, it’s not too late to have great skin. Plus when you have kids, do you really get time to wash your face in the morning anyway?

WhyIStoppedWashingMyFace

Makeup You Can Do In the Car

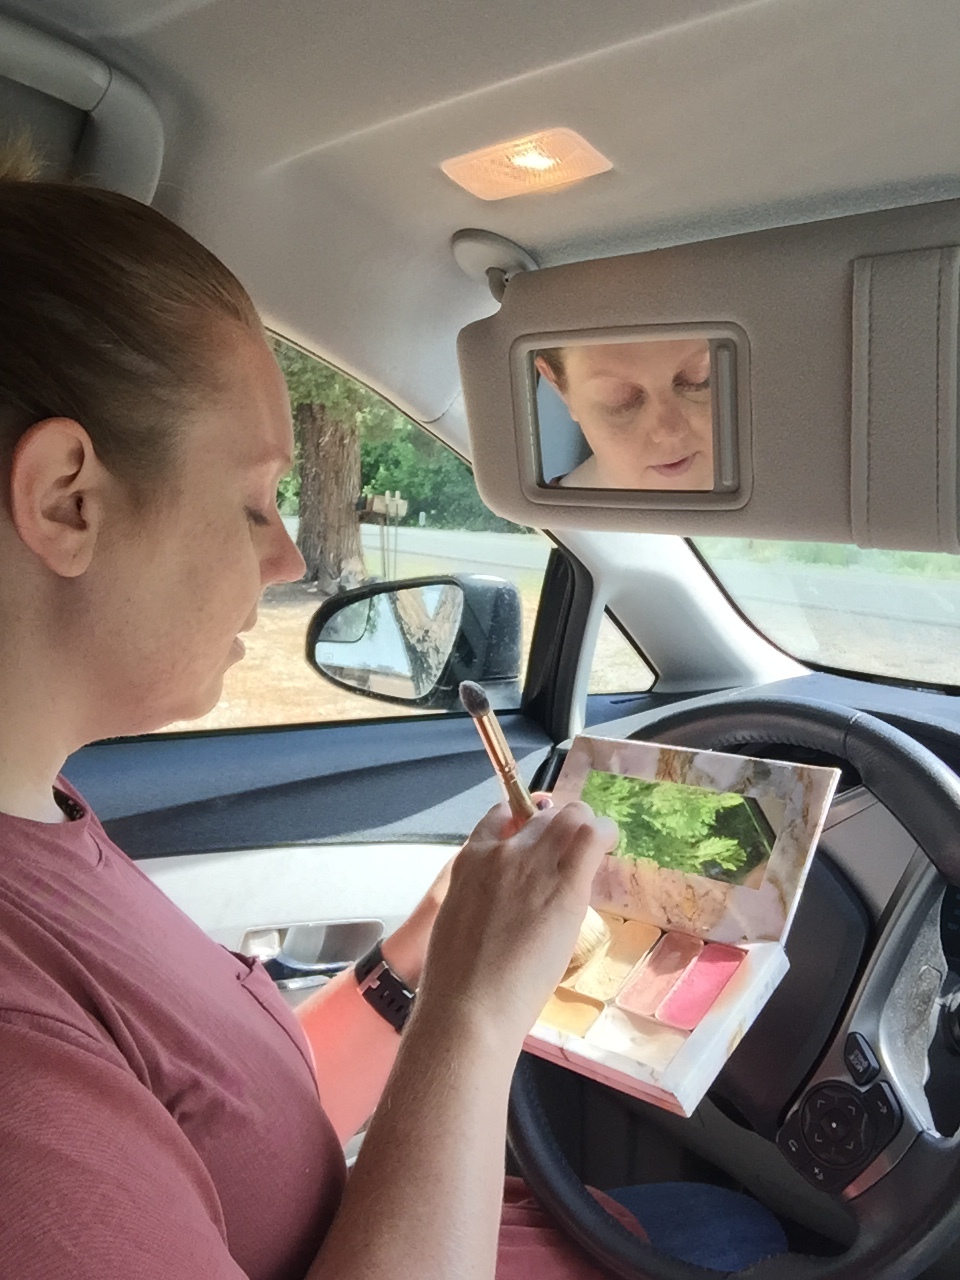
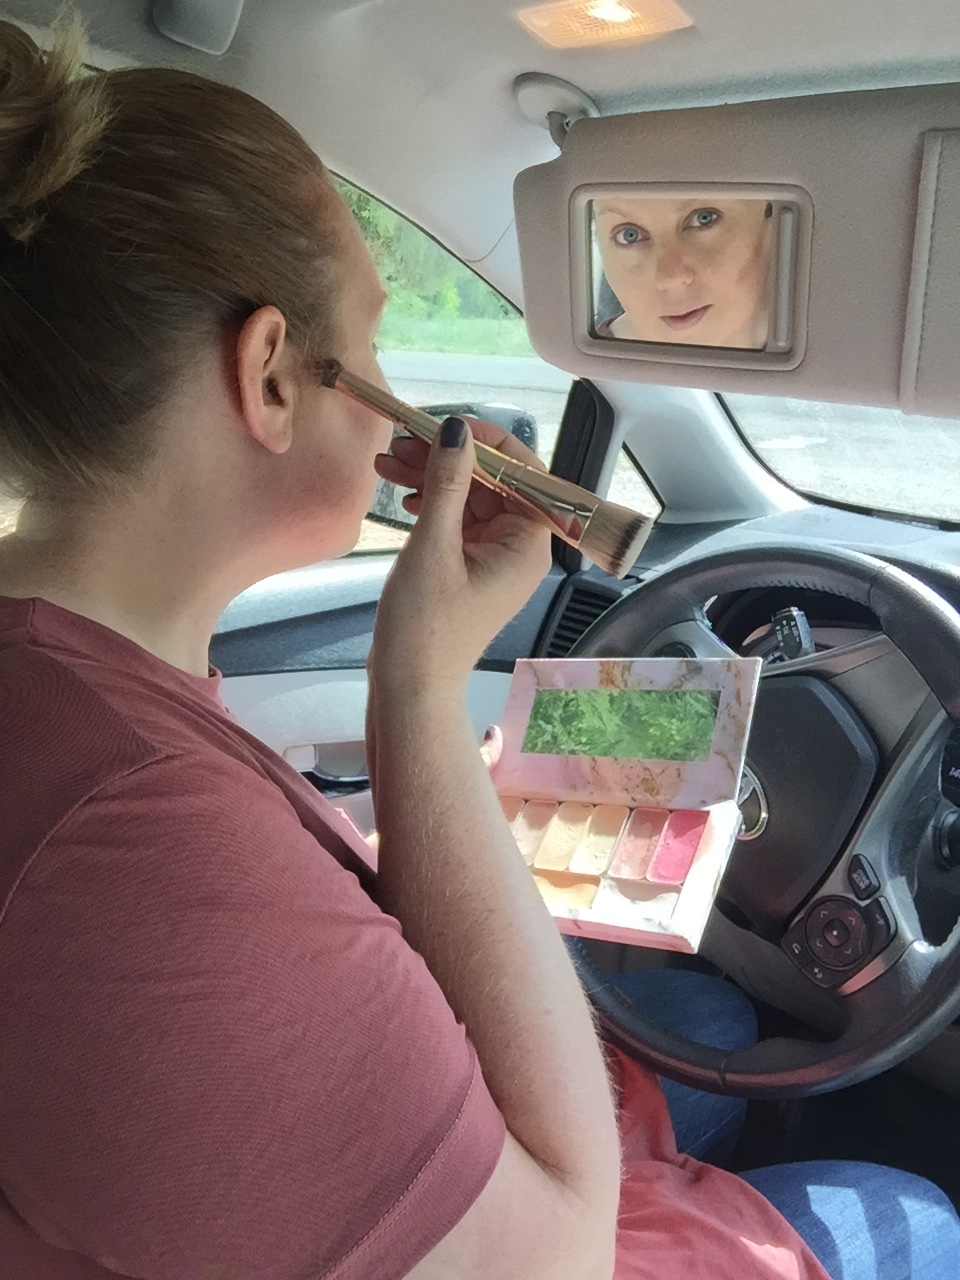
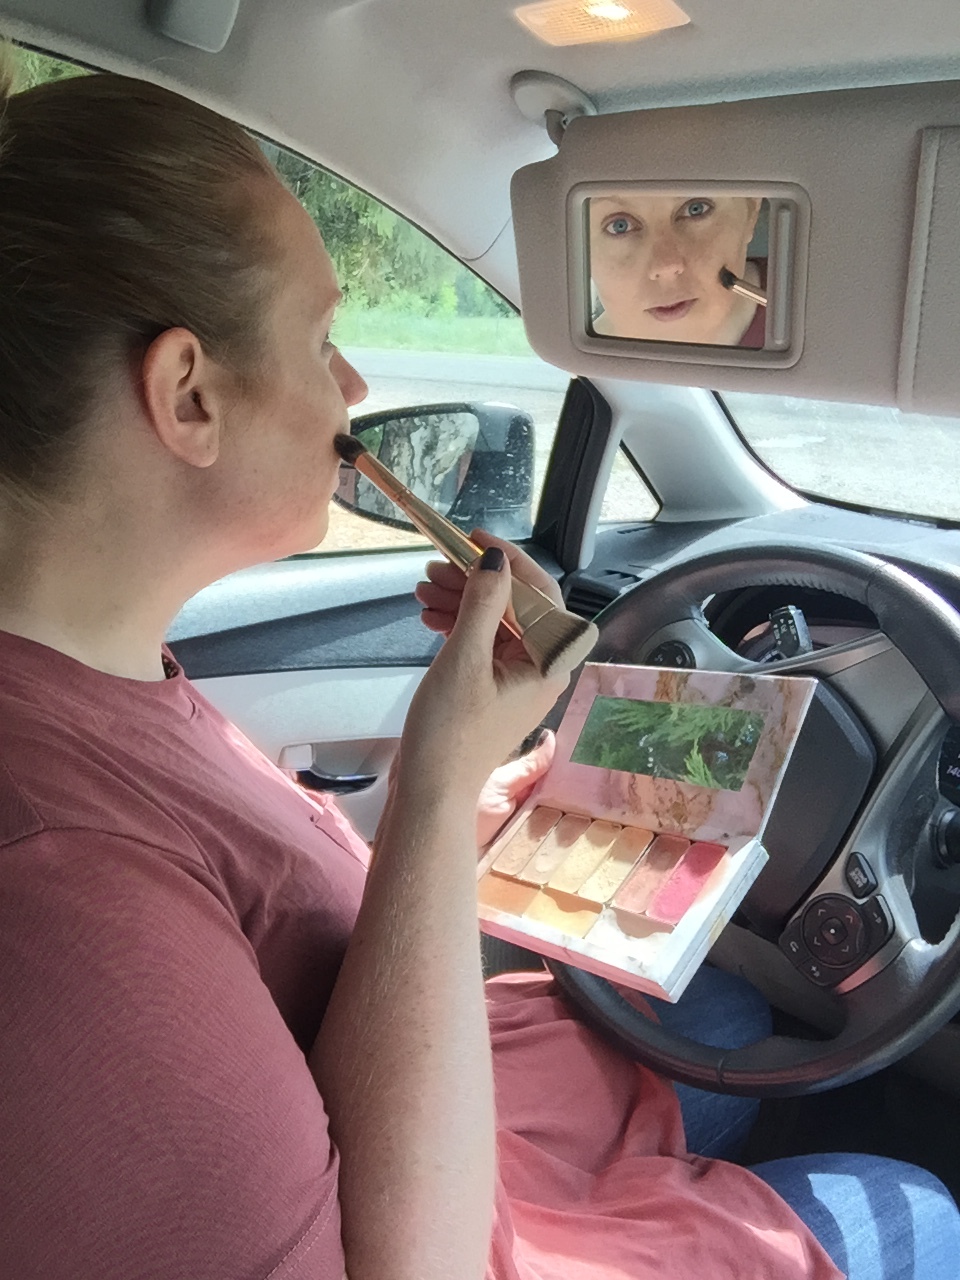
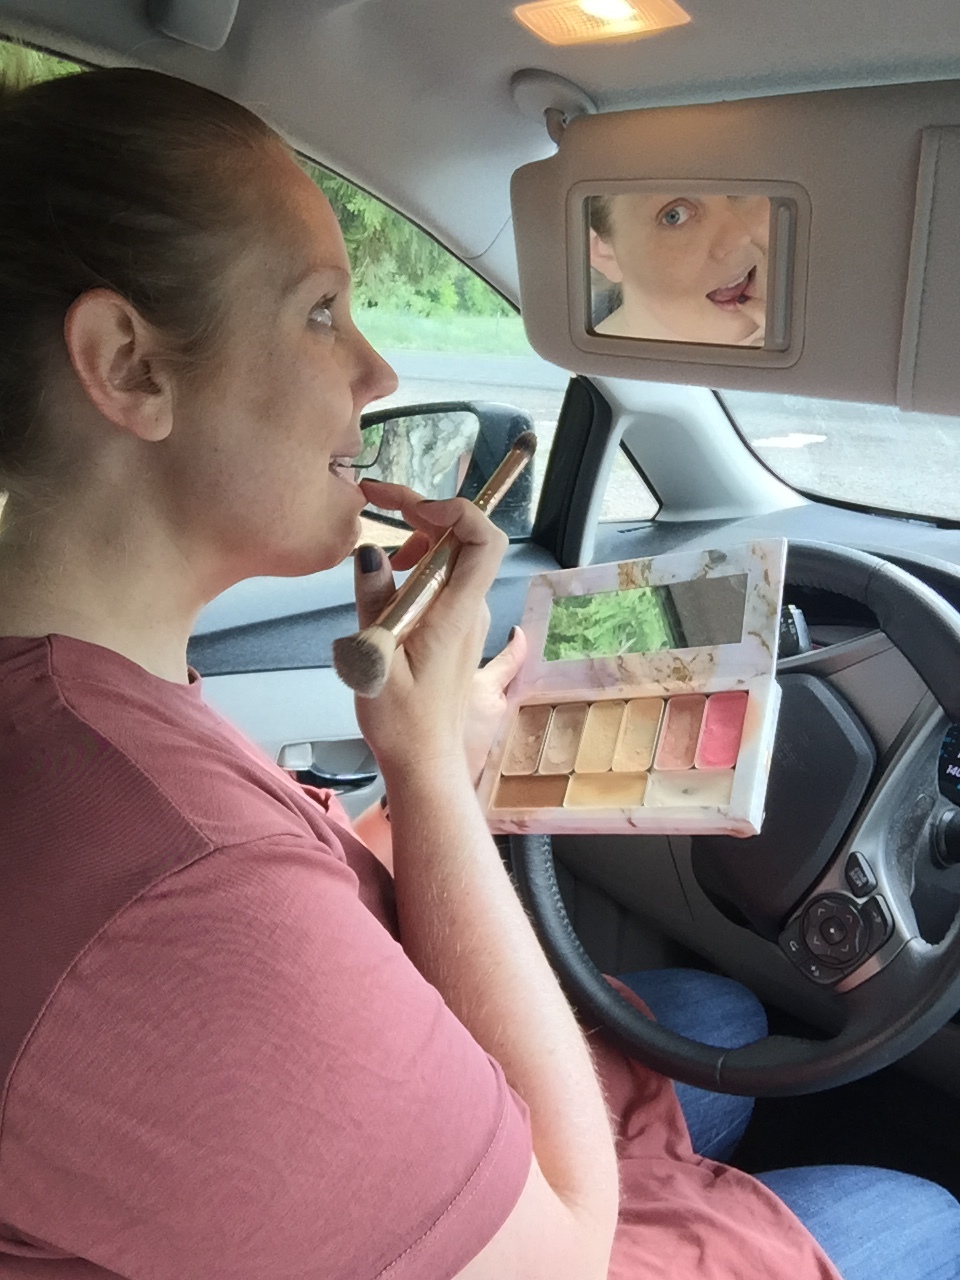
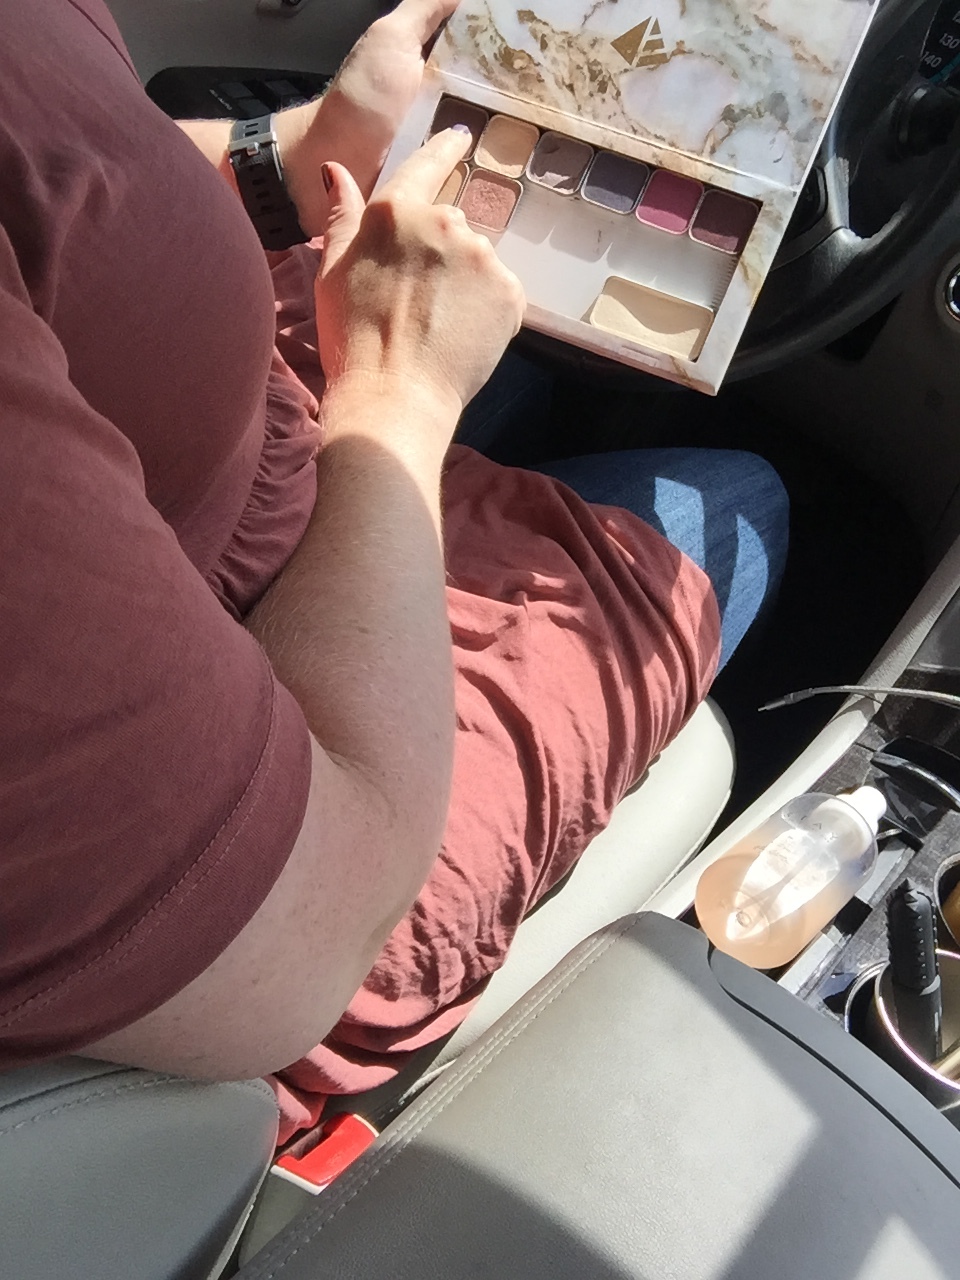
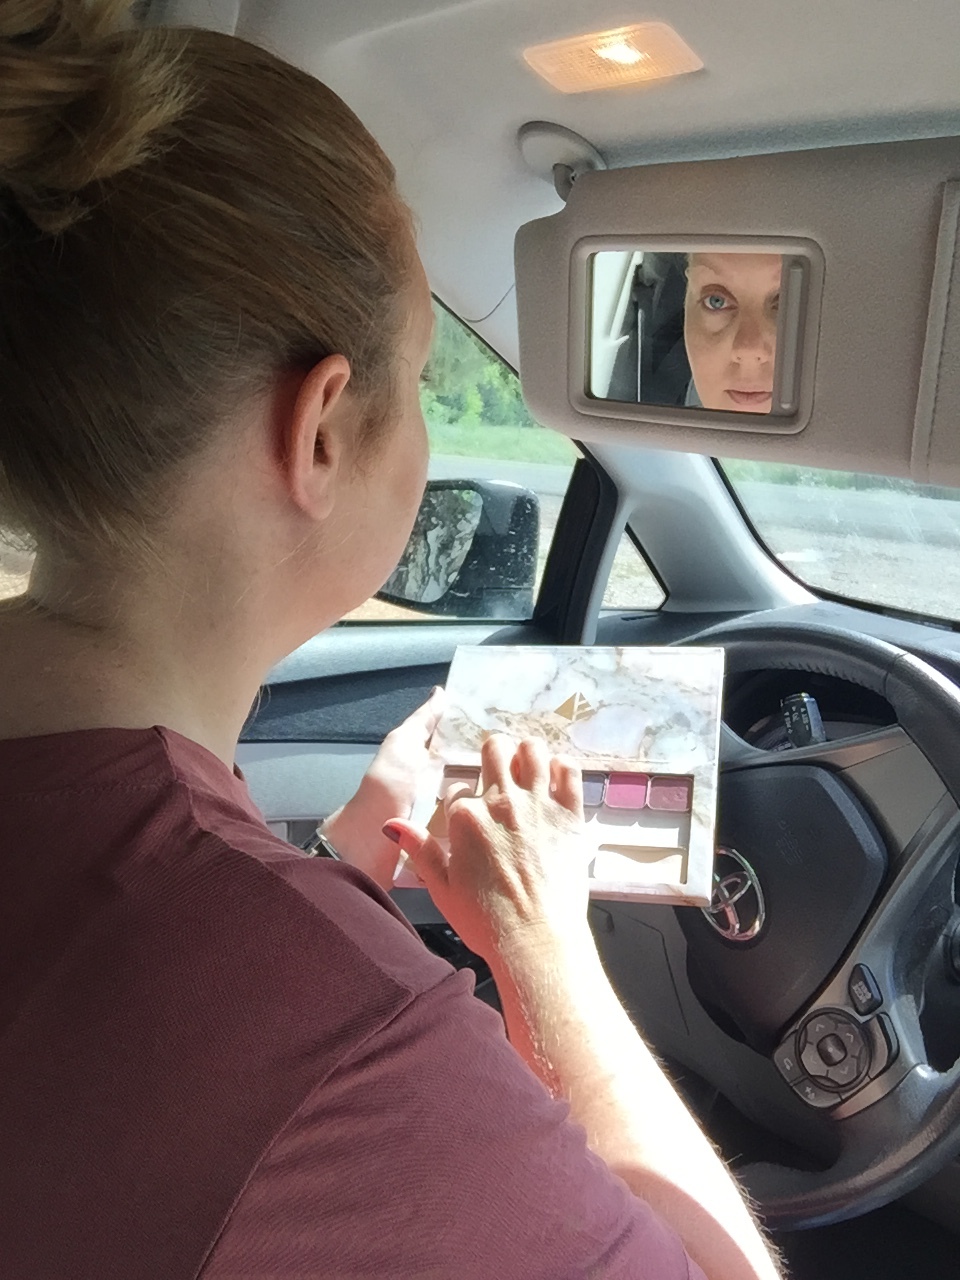
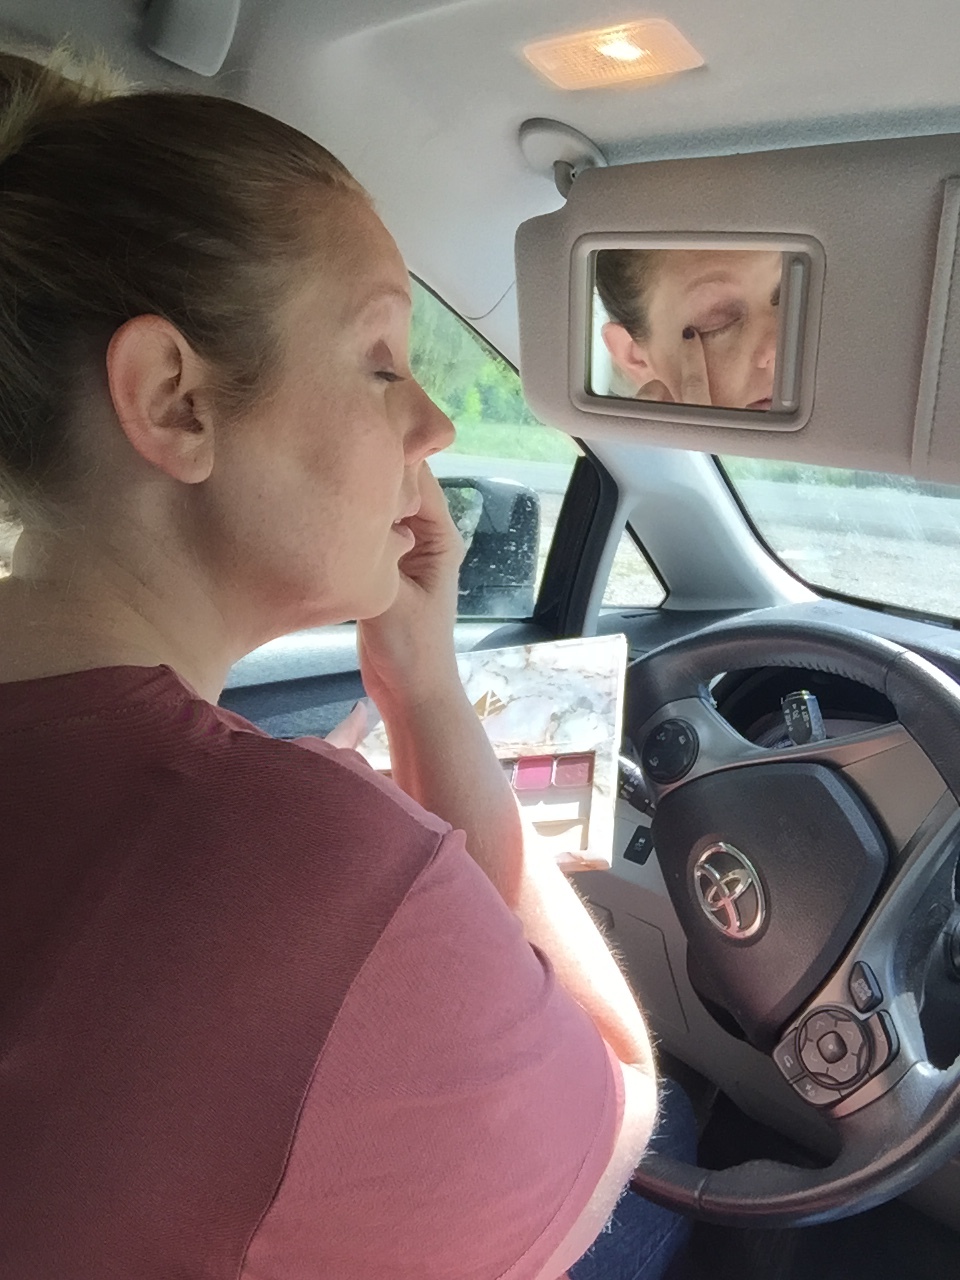
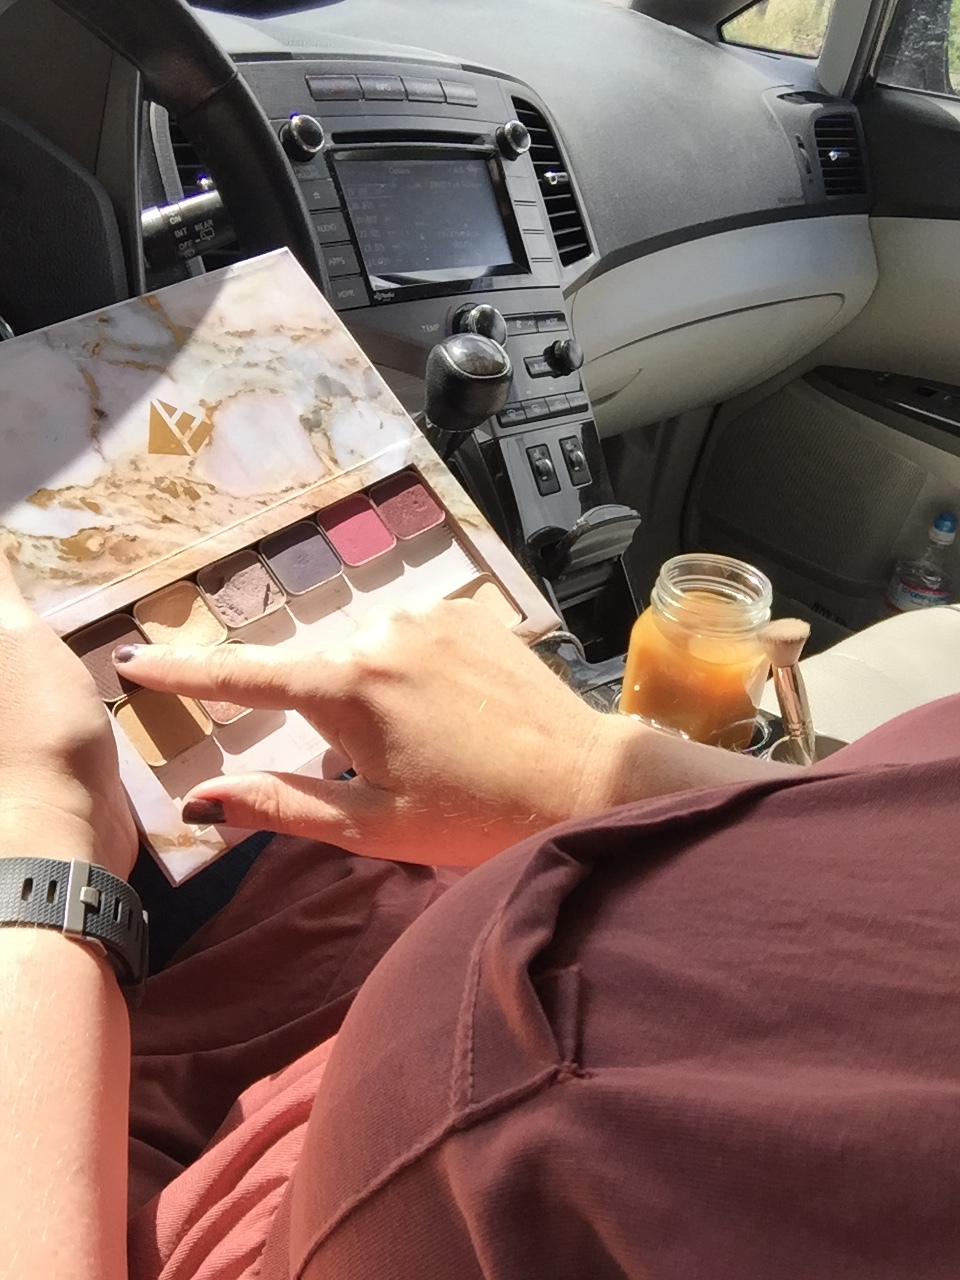
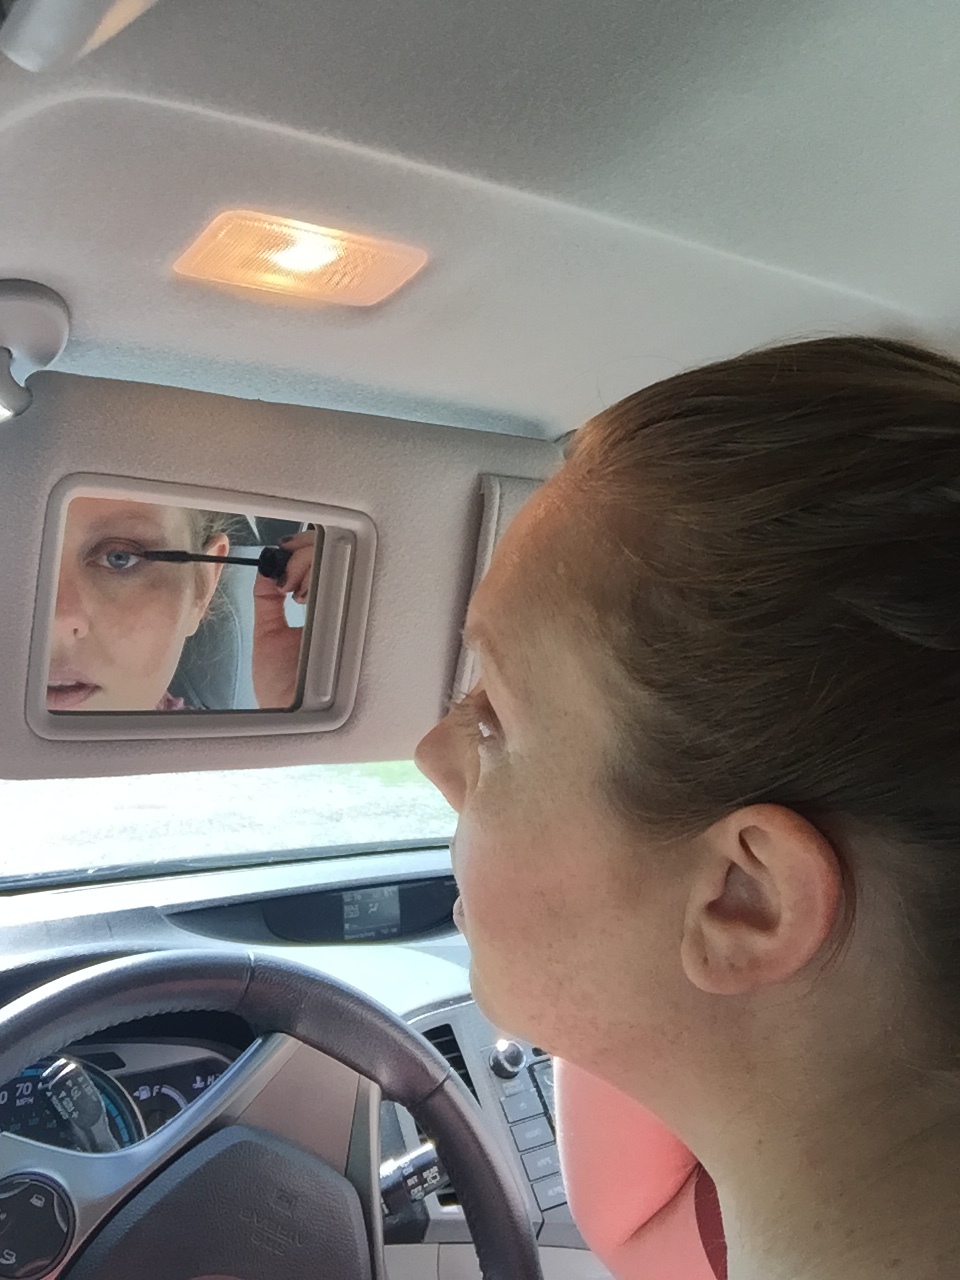
car_makeup

When you are a Mom it seems like getting out the door is nearly impossible, it doesn't seem to matter if you are just running to the grocery store or going on a European vacation (Oh how I wish I was headed for a European Vacation!). There are melt downs and extreme aversion to a hair brush, lost shoes, forgotten necessities (aka a toy that has been sitting forgotten in the bottom of the toy box for the last six months!) and getting everyone to pee. Where in that madness is time for you to comb your hair and put on your makeup? Did you find an extra 30 minutes to make yourself presentable? 

Girl don't sweat it, make your husband drive and get yourself looking gorgeous in less that five minutes on your way. Or better yet, buckle/strap the kiddos in and do it in the parking lot of you destination. Or even in the MickyDee's drive through, get your makeup done, grab a extra large coffee and an egg McMuffin and a block of hash browns for the kids. I wont judge, in fact I might be a bit jealous, there isn't a MickyDee's within a 2 hour drive of my house.

carseat_banana

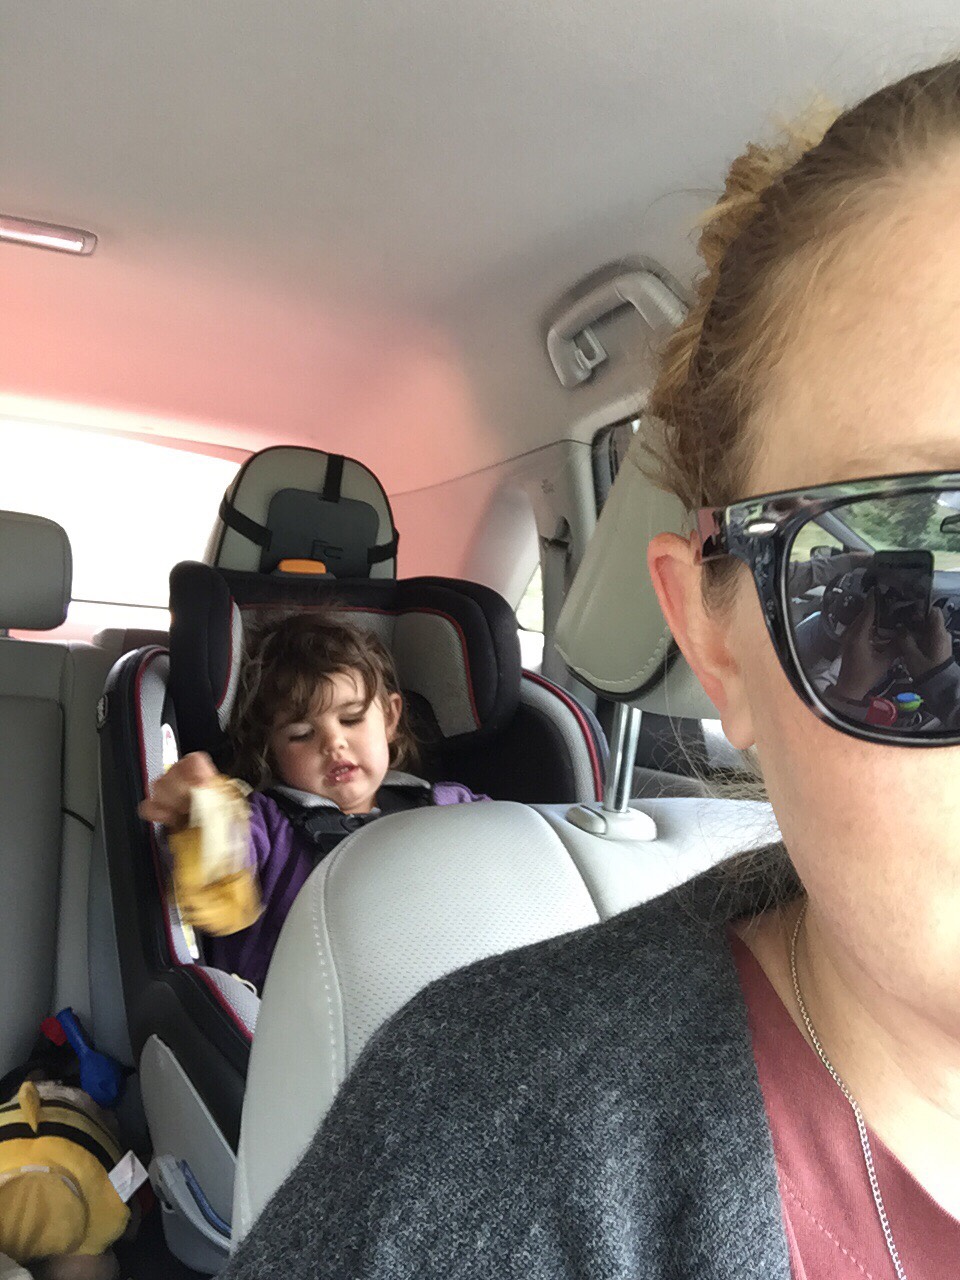
Life is easier when my 2 year old is strapped in her car seat! Instead of me constantly peeking around corners and finding her riding the dog around the living room (kidding, sort of) she is strapped in and munching a banana. This little bit of piece of mind allows me to go from a 20 minute makeup routine to a 5 minute makeup routine.

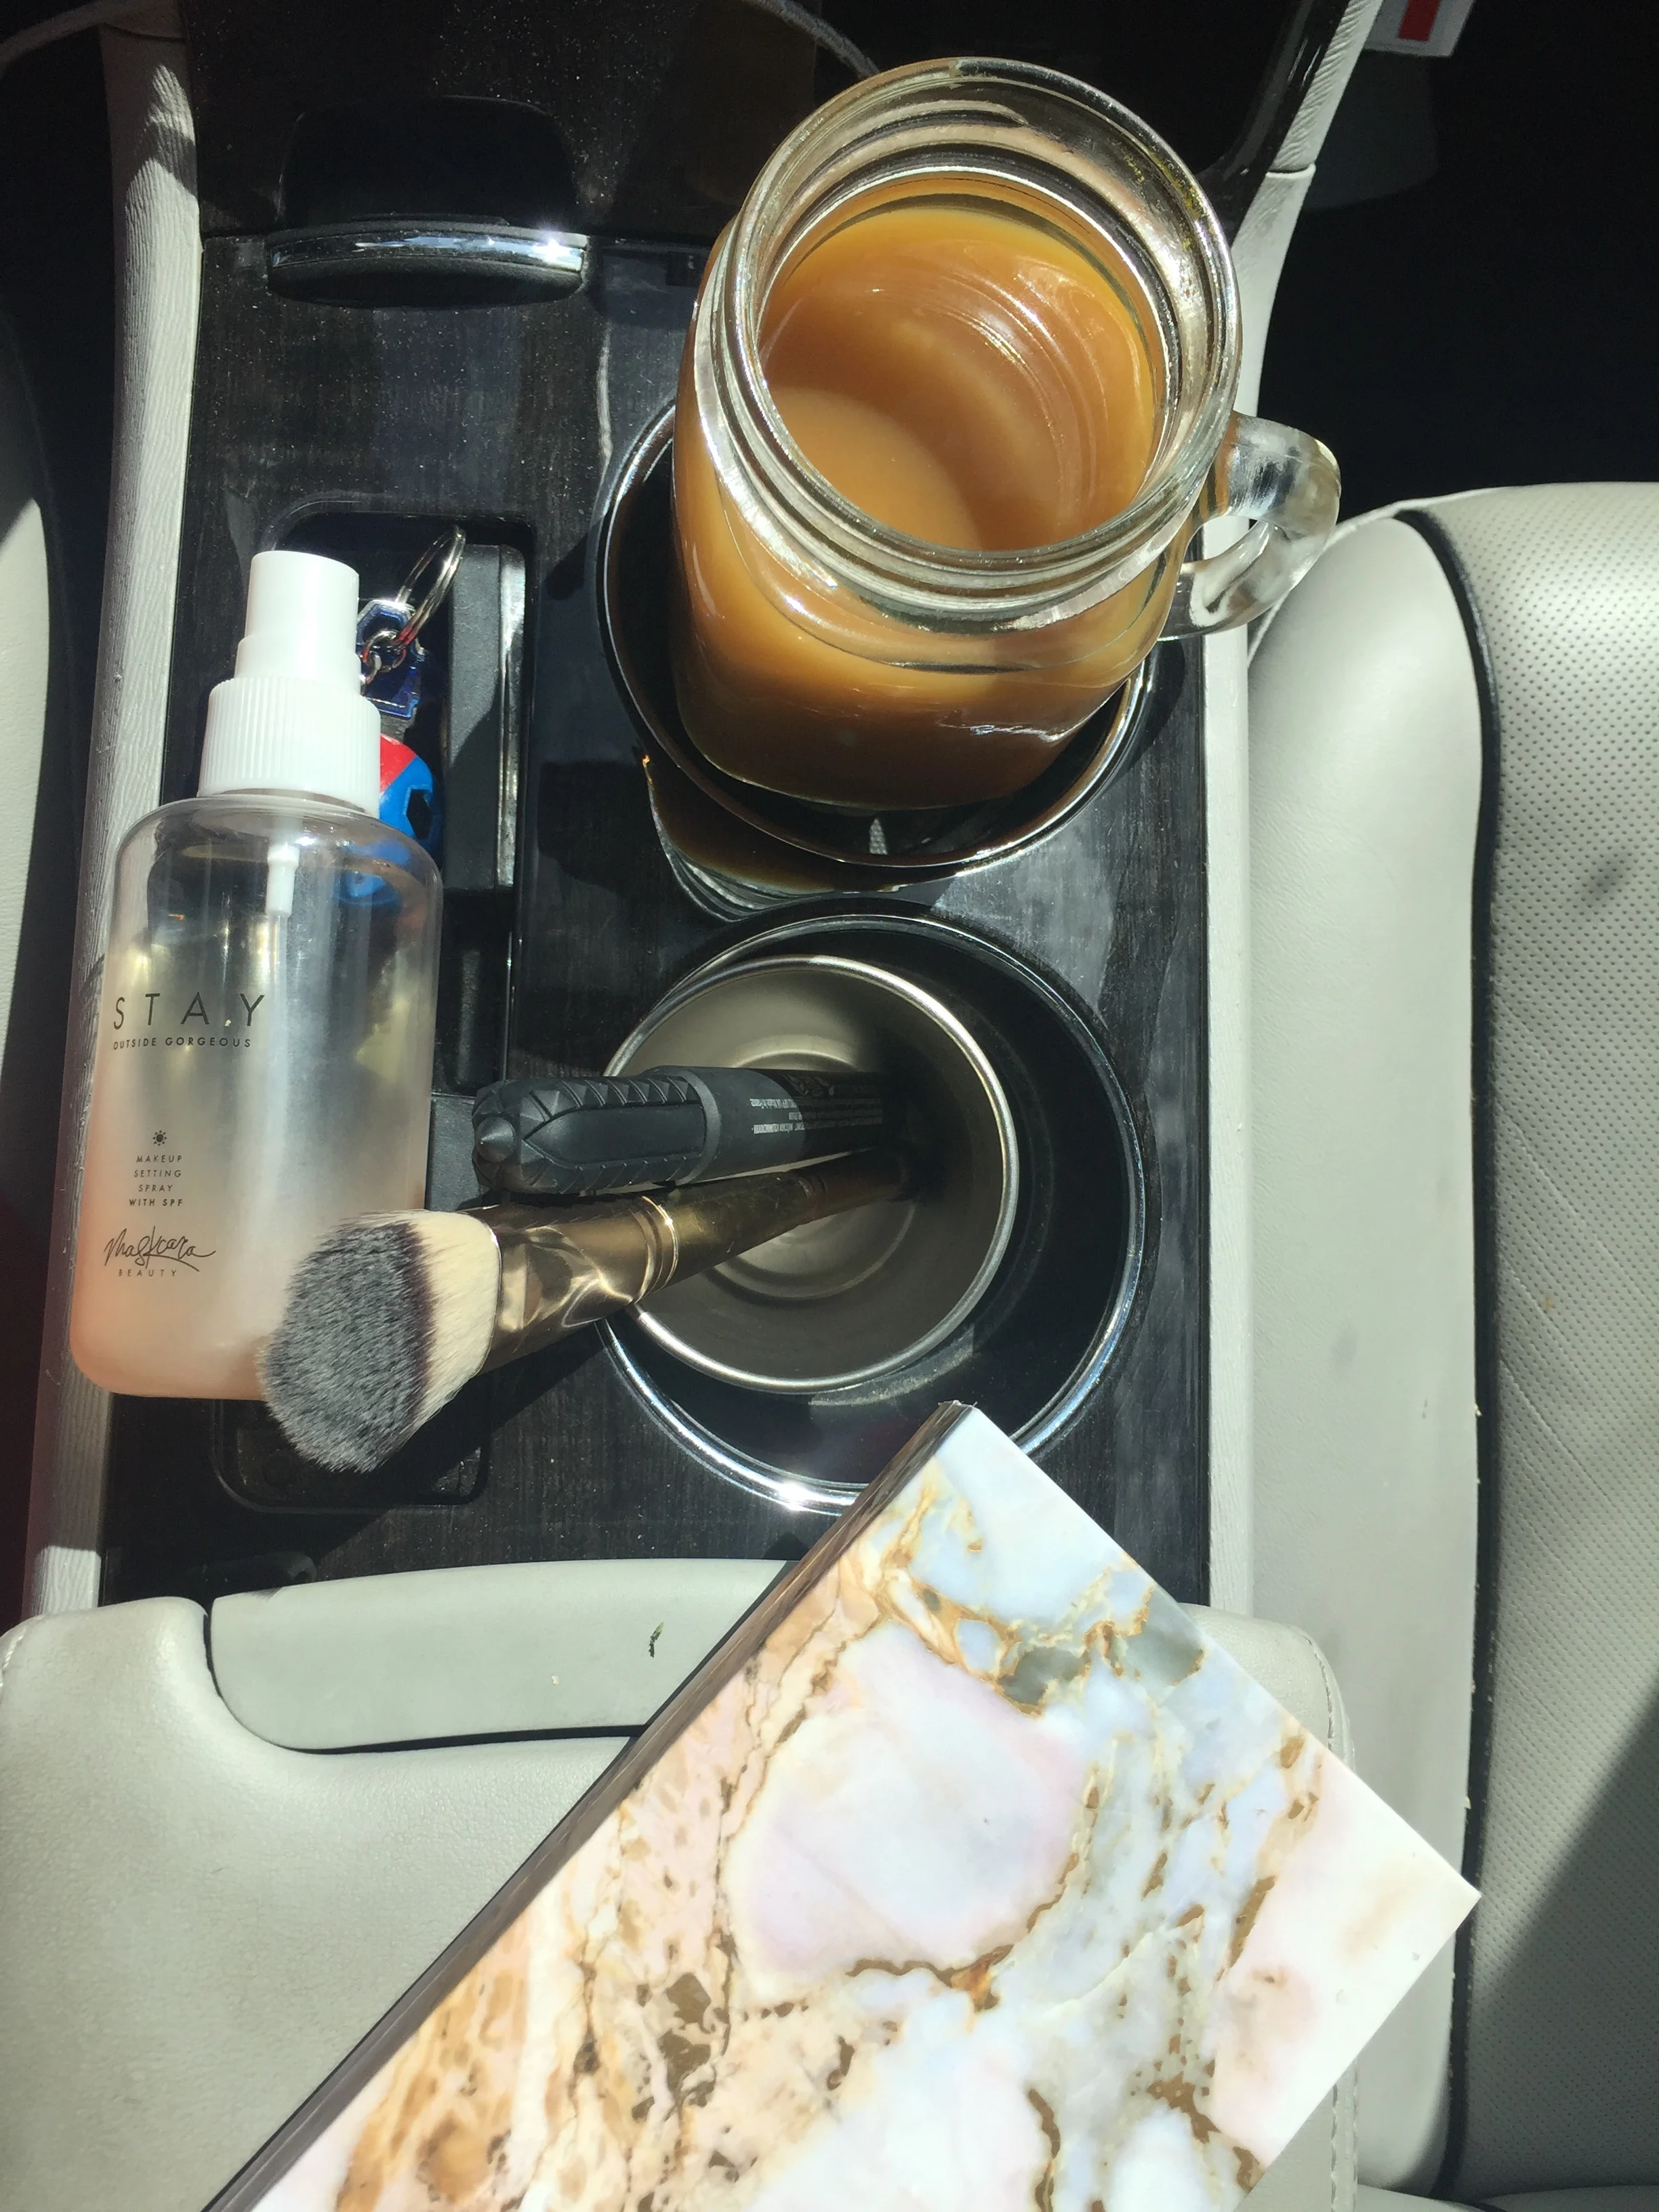
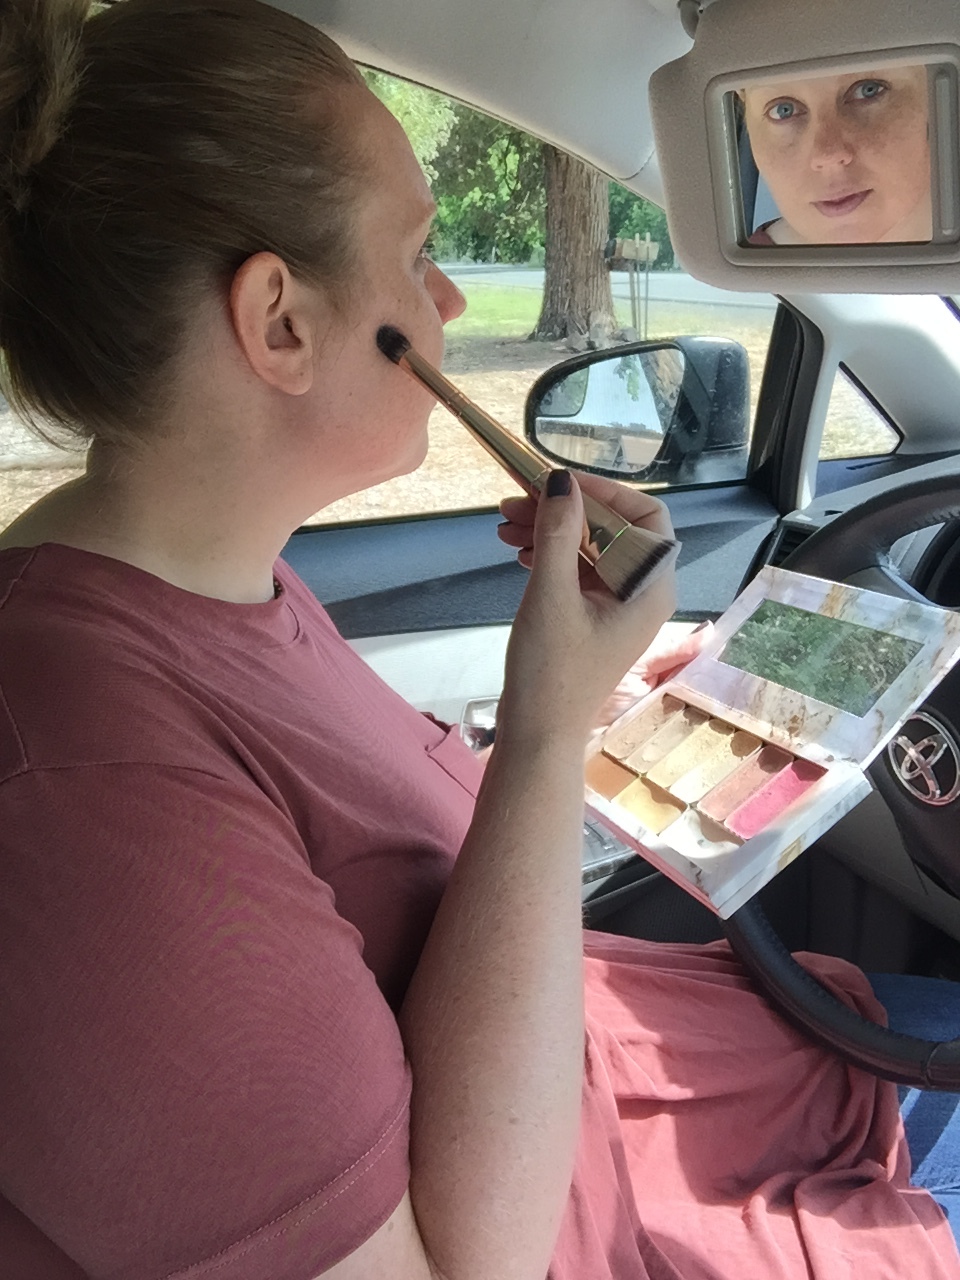
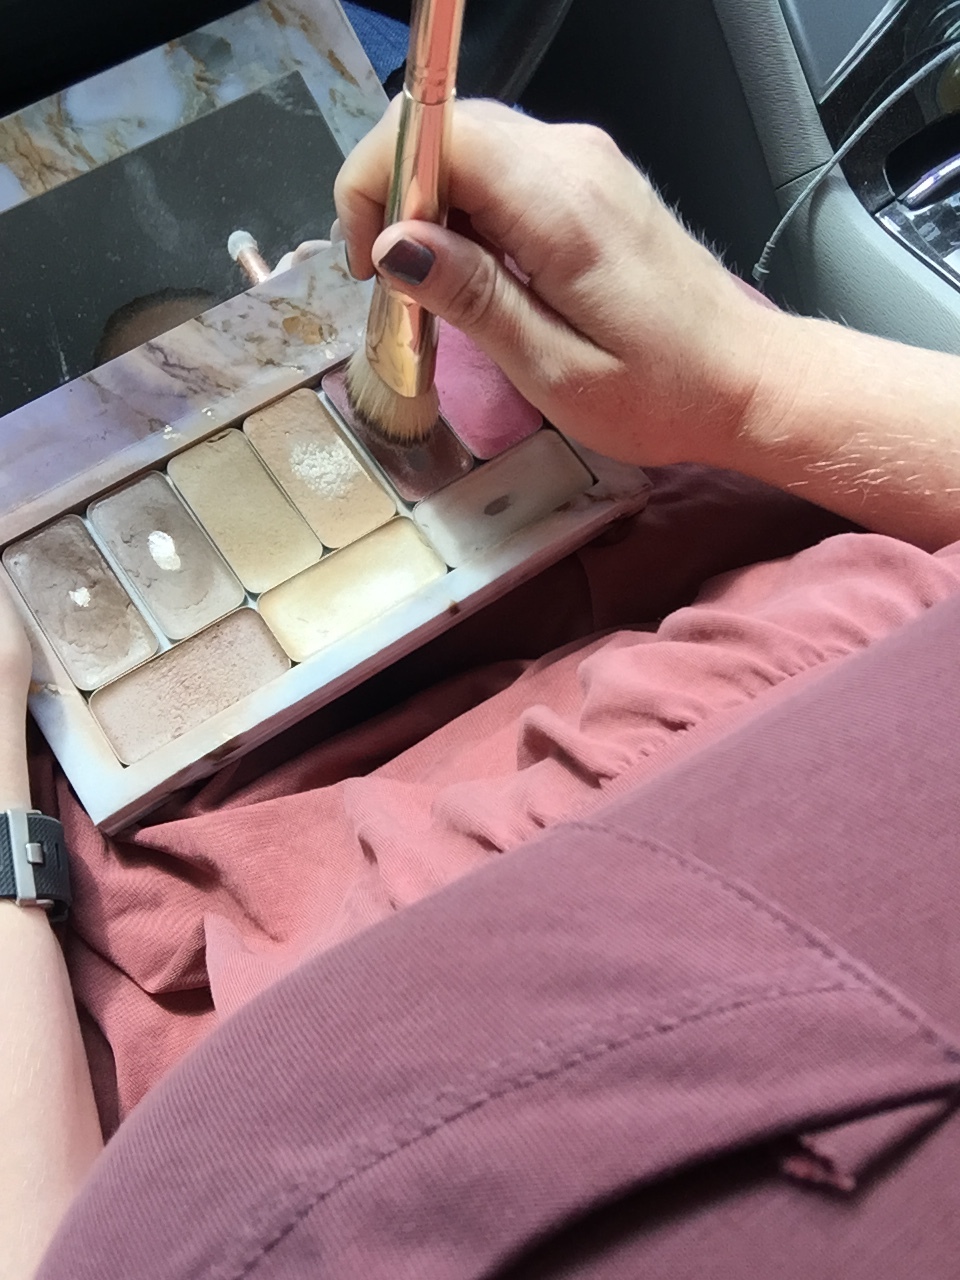
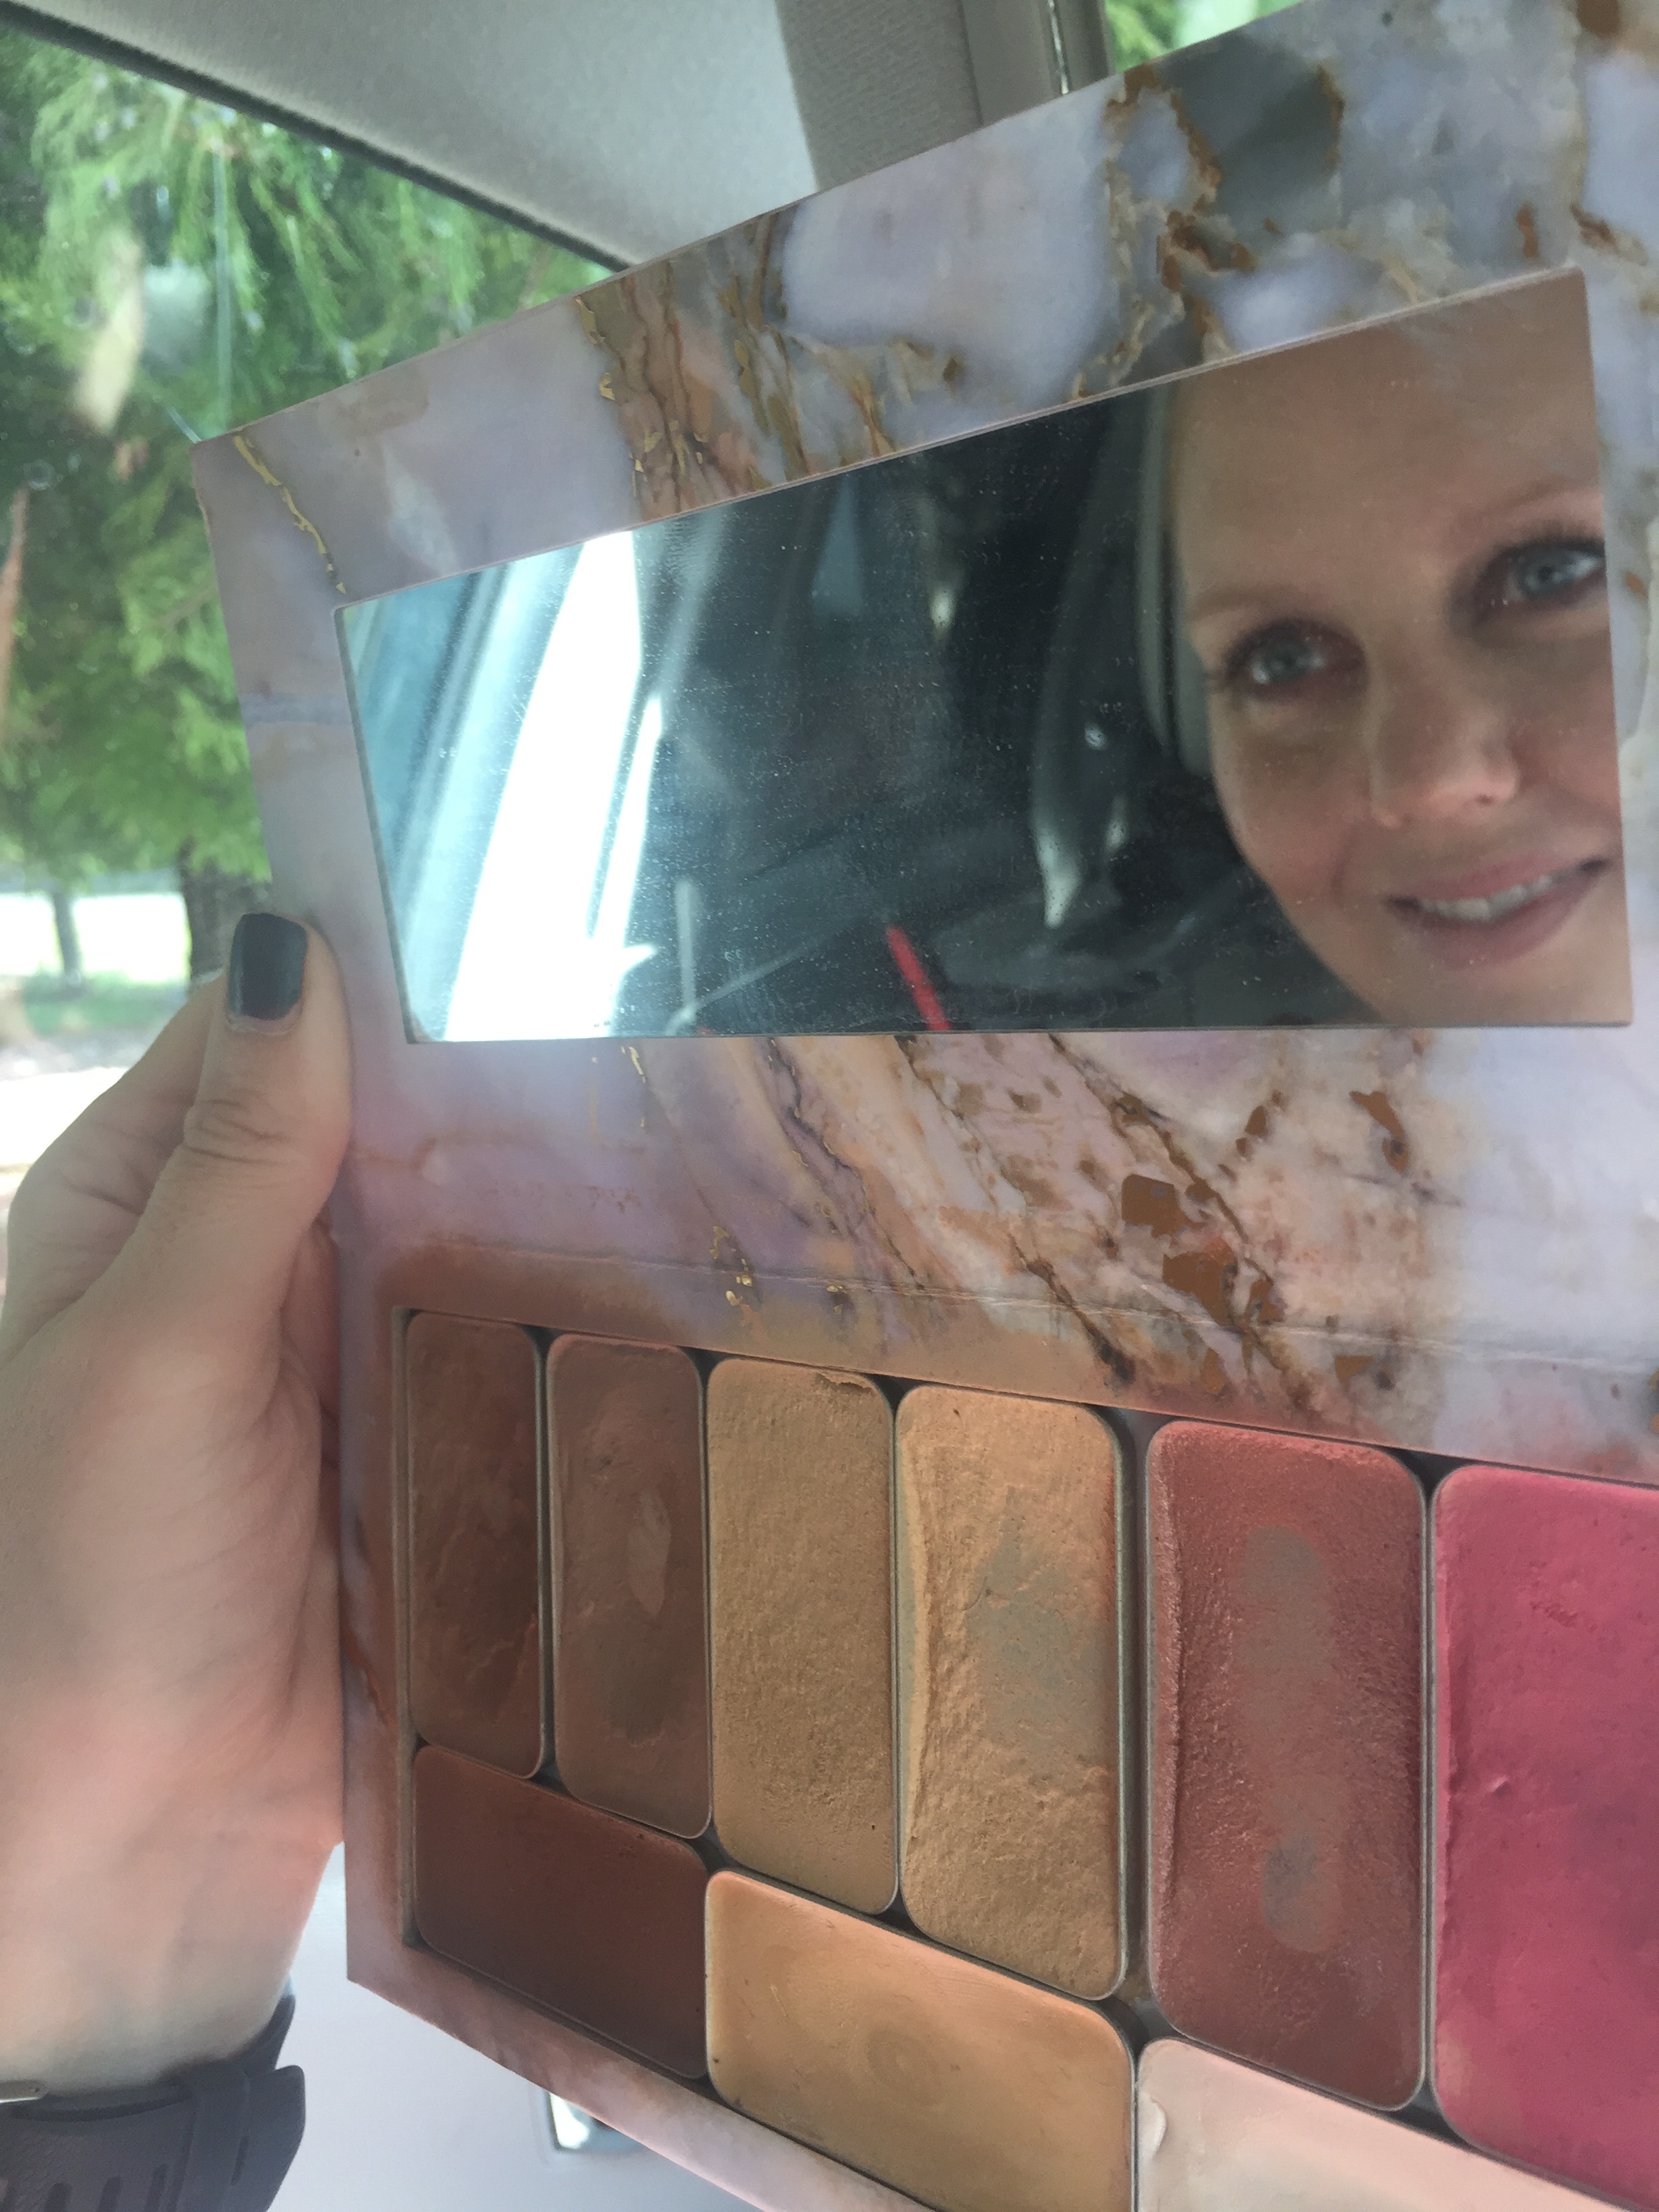
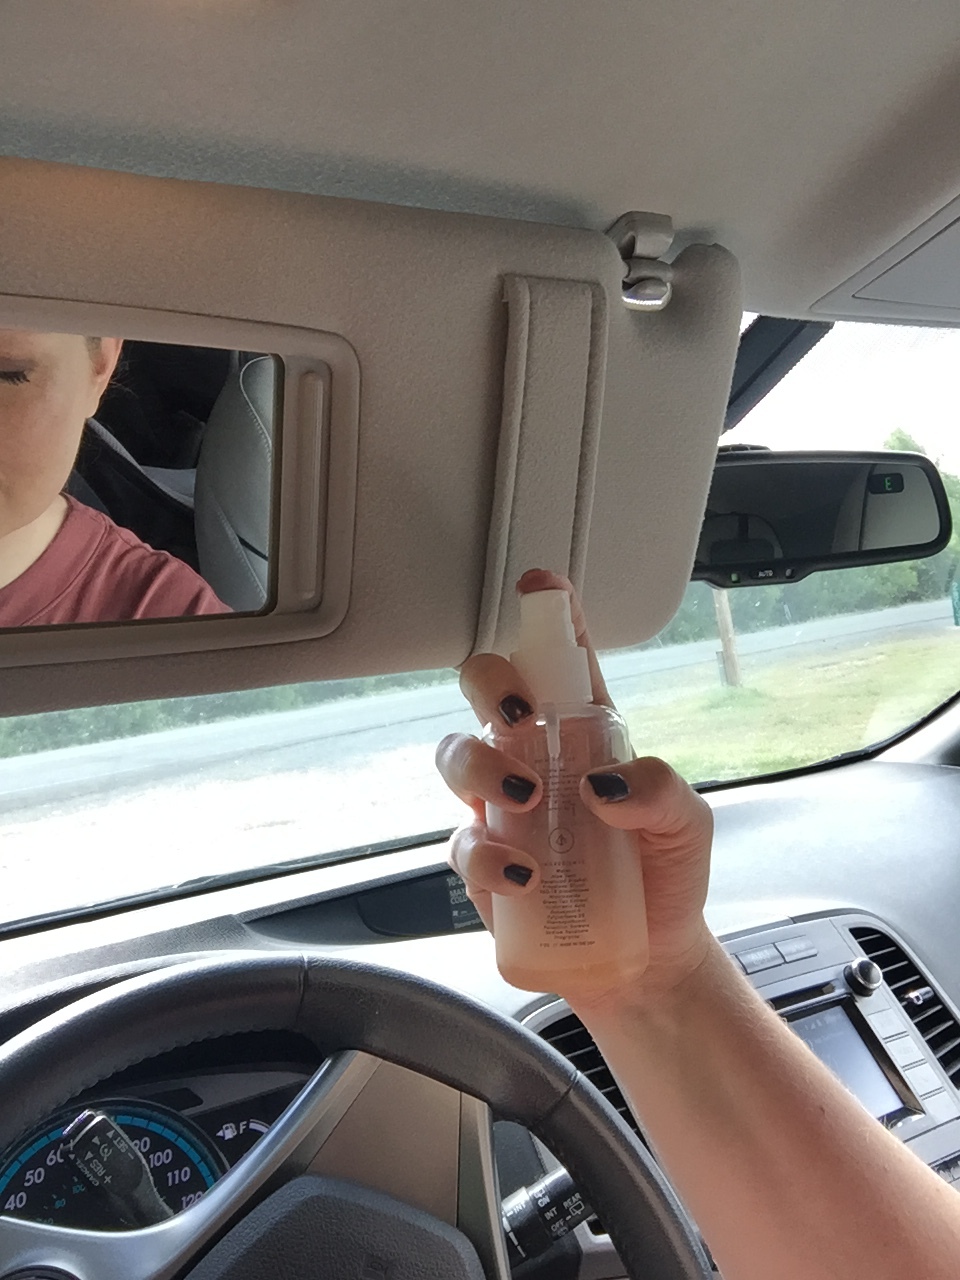
Throw your hair up in a mom bun, get your kiddo to the car, flip down that visor mirror and get yourself looking gorgeous. It is easy when you only have 4 things to take with you. My compact holds my highlight, contour, blush, illuminator, bronzer, eye shadows and setting powder, so the only other things I have to take are my brush, mascara and setting spray. 

Take my color match quiz and let me help you get a single compact that holds it all. Make mornings stress free, strap in and get gorgeous! 

5 Skincare Lessons I Have Learned in My 30s

Lessons I have learned about my skin that I really wish someone had told me when I was 13.

1.  Exfoliate Often

IMG_6990.JPG

I have exfoliated for years, but I was irregular and I usually used an abrasive exfoliating scrub it didn’t do good things for my skin. I now exfoliate regularly with a gentle chemical exfoliating gel, it has done wonders for how my makeup goes on and stays on throughout the day. 

Using an abrasive exfoliating scrub would scratch the top layer of skin, exacerbating the problem. The more I scratched my skin the more pealing dry patches I would get. Using a gentle exfoliating gel gently peels away the top layer of dead skin, revealing the healthy skin underneath. I exfoliate at least once a week, sometimes twice a week and it has done wonders for how my makeup looks!

My favorite exfoliating gel Cure Natural Aqua Gel is available here.


2. Moisturize, Moisturize, Moisturize

This is something I wish someone had explained to me when I was 13 and suffering from teenage hormonal acne. My teenage brain thought, I’m breaking out so there must be dirt in my pores, so I would scrub with harsh cleansers and soap until my face tight and “clean”. I didn’t realize that this was the worst thing I could do for my acne prone skin. The more oils I stripped away with over cleansing the more I prompted my skin to produce more oil. This over production of oil, caused even more breakouts by causing blockages in my pores.

In my 20s I started regularly moisturizing, usually with a light moisturizer with sunscreen that I would wear during the day under my foundation. I have a very oily T-zone and I thought that a heavy moisturizer would just add to the oiliness. At that point, I had invested in an expensive 3-part acne system to combat my regular breakouts. It was not working, partly because it was harsh and abrasive exfoliating cleanser and partially because I was never consistent with any skincare routine and I was not using a really good moisturizer.

milk.png

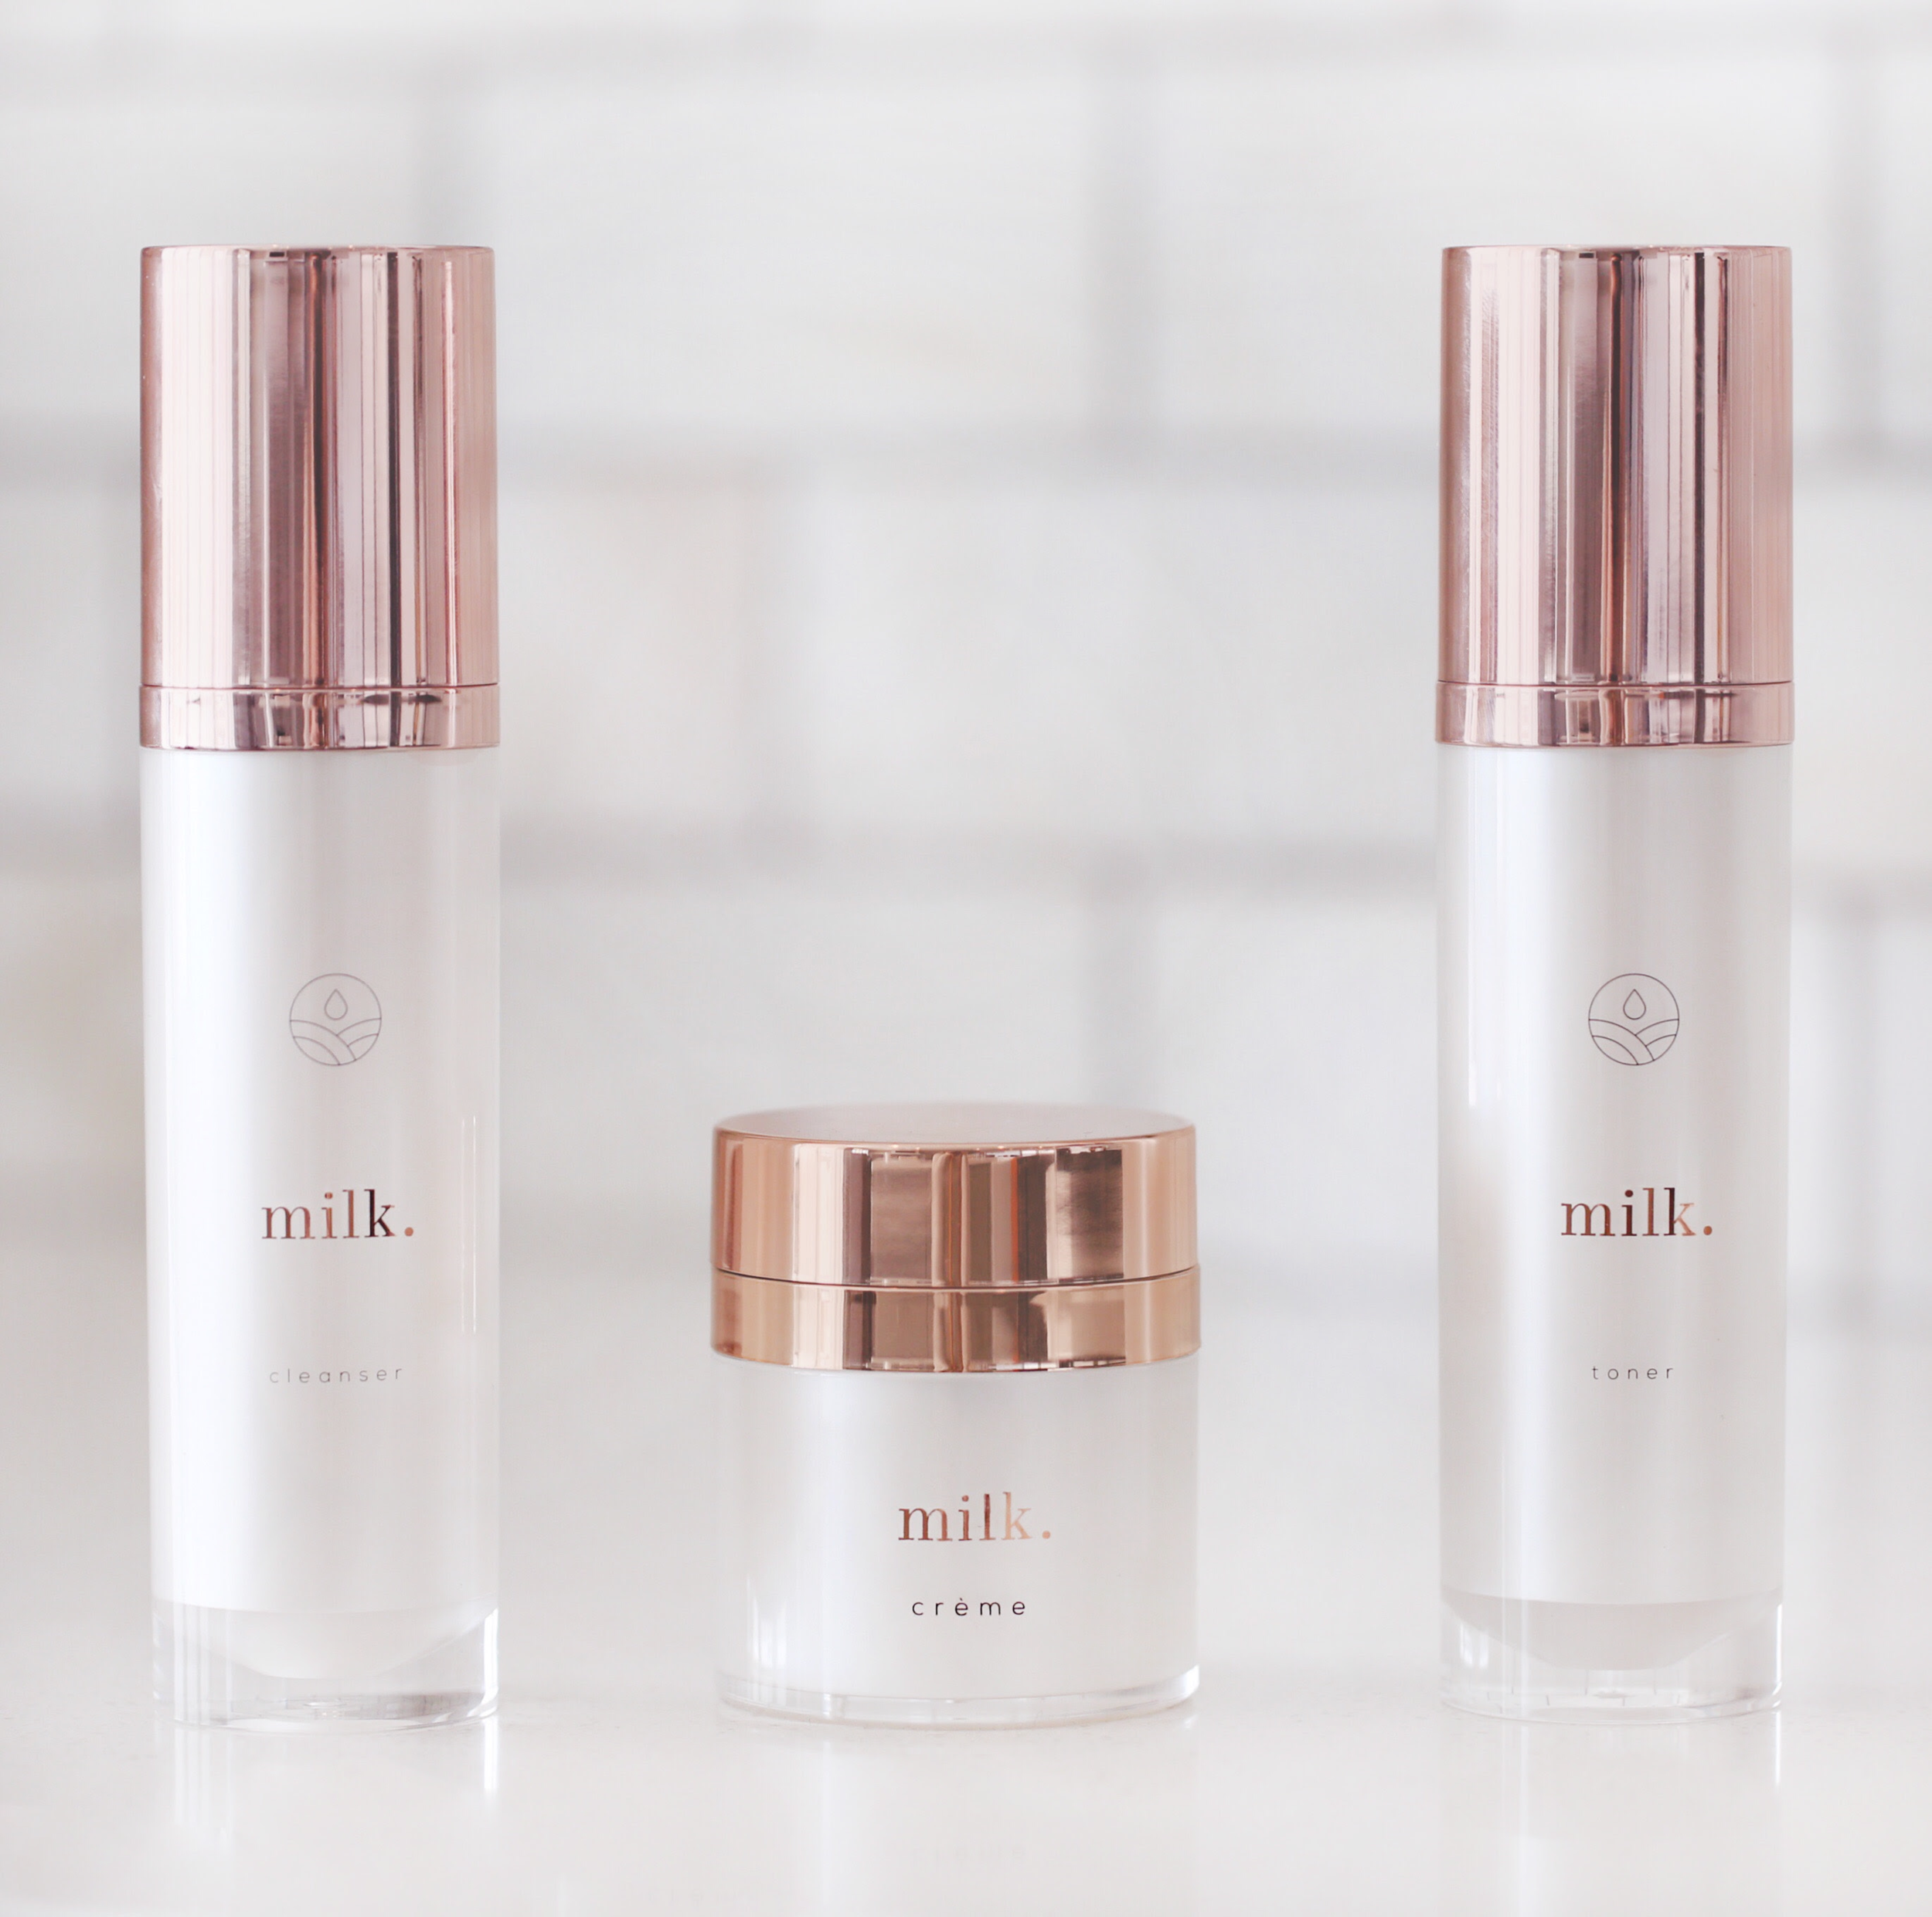
My 35th birthday is coming up in a few weeks and I have the best skin I have ever had (well post puberty anyway). Around my 32nd birthday, I finally started reading about how to care for your skin and the answer that always seemed to pop up was, moisturize! If you have oily skin, invest in a really good night cream/moisturizer, moisturizing with oily skin signals your skin that it can slow down on the oil production. If you have dry skin, first exfoliate and then moisturize, invest in a really good night cream/moisturizer. If your skin is dry you are not producing enough oils naturally and you need to add moisture. Exfoliating first will take off the top dead layer of skin and allow the moisturizer to penetrate your skin and do the most good. I have combination skin, so I have dry patchy areas as well as a very oil T-zone. I finally invested in a really good moisturizer/night cream and I liberally slather it on every night before bed and my skin is so much happier, I don’t have dry patches, my oil production had decreased and my makeup goes on smooth and stays on throughout the day.

My favorite moisturizer is Milk moisturizer from Maskcara beauty, you can get it here.


Cleanser_Milk.png

3. Use a gentle face cleanser

This is key, if you are using a harsh cleanser you are probably undoing all the good you are doing by exfoliating and moisturizing. Americans tend to over wash, we have this obsession with being clean and that obsession is causing problems with our skin. Harsh cleansers or over cleansing messes with our natural oil production. I say knock it off! If my face is truly dirty, meaning I have actual dirt on it from a day of gardening or a weekend of camping, I use a Dove Moisturizing bar to wash it. I only ever use this at night, never in the morning. My face is not dirty in the morning, if yours is you must have much wilder nights than I do! The best cleanser is a non-foaming cleanser, non-foaming cleansers will keep your natural oils and keep your face moisturized. I use a non-foaming cleanser at night (unless my skin is actually dirty then I use Dove) and I make my own mixture for the morning, with two ingredients you already have in your pantry. Depending on your skin type and what works best for you, decide if you need moisturizer in the morning. Some days I use a light moisturizer and some days I just put on my makeup without moisturizer.

My night cleanser is Milk cleanser from Maskcara and you can get it here.

My morning cleanser recipe:

¼ cup honey and 1 tablespoon baking soda. Mix in a glass jar with a lid. Let sit at least a half hour before using to let the baking soda react with the honey to make a lovely foam. Scoop out spread on your face, let sit for 60 seconds and then wipe off with warm water on a microfiber cloth.

** I make small batches 3 times a week, because the soda will continue to react with the honey and will only be useable for 2 to 3 days depending on the temperature in your house.


4. Sunscreen Everyday

Neutro_liquid.PNG

Suddenly when you enter your 30s everything changes, you go from a sunbathing beauty to seeing your first sunspots emerge and you finally take the advice that your grandma tried to give you when you were 19. “Wear big hats and sunscreen, all the time and even in the winter.” My skin has also changed from going to a beautiful tanned perfection after a nice summer day, to now burning and then going back to pasty white. There are so many great options for fake tanning these days, that there is really no excuse for damaging you skin in the sun.

IMG_2656.JPG

So, I now wear sunscreen every day on my face, there are some great options out there for sunscreen that make it so easy. If you have your favorite moisturizer or setting spray that doesn’t  have SPF and you don’t want to sacrifice your favorite products to slather on oily sunscreen that will cause your makeup to do funny things try Neutrogena Liquid sunscreen, available here. Although the best is a makeup setting spray with SPF! Why add extra steps if you don’t need to, get the one I use everyday here! 

Get UltraSheer Liquid Sunscreen here.

Get Stay Setting Spray with SPF here.

5. Correctly color matched foundation

highlights.jpg

So unless you have a crazy awesome genetics and you are in your 30s chances are you are starting to see fine lines. I hate to admit it but it seems like every time I look closely in the mirror I have aged a bit more, I blame it on the 2 year old monster living in my house. With these fine lines came the realization that my makeup wasn’t up to the task and the 19 year old at the MAC counter had no idea how to help. I would leave the house looking amazing and look in the mirror at 10:30 to see that my foundation was now settled into the lines around my eyes. Let me be the first to tell you, this isn’t the way it should be. If you have the correct shade of foundation It won’t settle! Yep, that is right you just need to find the right shade.  There is help, maybe hit it the makeup counter during school hours to get more mature help. Or contact me and I would be so excited to find you makeup that works for you and makes you look as beautiful as you truly are!

Get a Personalized Color Match!                                       Take Color Match Quiz

Get Your Dirty Brushes to Shine Like New

Restore Brush Cleaner

Restore Brush Cleaner

I used to dread brush cleaning days. So, I didn't do it very often, I put on makeup with dirty brushes. Ewwwe! As my daughter would say. Every time, I would get them wet, soap them up and rinse them off and the makeup would never come out on the first try, so it became a serious lather-rinse-repeat situation. Then you had wet brushes that you had to set out to dry for 12+ hours (24 if your house is as cold as mine in the winter). What do you do if your brush still isn't dry in the morning? Not to mention I once had a set of expensive brushes, that in my lather-rinse-repeat, I went a bit to heavy on the rinse and softened the glue. The hair started falling out slowly as I applied my makeup, until one morning a big clump fell out and that was the end of my expensive bushes. Waaaaaaah!

Enter the cleaner of my dreams, no more water, not more lather-rinse-repeat, no more hunching over the sink for what seemed like hours. Hello you magic bottle that smells like heaven and cleans better than Mary Popins.  

So how does this magic work? It is really to simple, grab your dirtiest brush, a couple paper towels and Restore Brush Cleaner. 

F5D61EB7-0EAF-470B-B80F-128B71EC5275.JPG

Spritz your brush with Restore


Swirl that bad boy on the paper towel


When you are not getting anymore makeup on the paper towel your done. Take a look at that brand new beauty. 


F774DC75-2EB1-4FD7-BEB7-CCED991791CB.JPG

It is ready to use!! Yep, you read that right NO DRYING TIME!! Sorry I didn't mean to yell! I just get a bit excited about products that save me time and lots of lather-rinse-repeat. Also, did I mention that it conditions and sanitizes too! 

Here is the link to get yours now!! 

IMG_0359.JPG

Happy Cleaning! 

It is yummy even for a cheese lover!

I really love cheese, no I mean I really love cheese! Mac n’ cheese, quesadilla, grilled cheese . . . . Mmmmmmm!
OK so, I guess I love noodles, tortillas and bread too!
So when we found out that my daughter (at 2 months old) had food intolerance to dairy and wheat it was difficult for me to picture what our lives would be like. I just kept thinking she will grow out of it! She’s got to grow out of it! That hasn’t happened! (How did you know, you ask? Check out my post on our reasons for going gluten free/dairy free)

So here is where we are now, I’m making good old comfort food and we are loving it! Our grocery bill is a bit higher than the average American, but I have a healthy happy girl so totally worth it!

Plus I made gluten free dairy free grilled cheese today and it was good! Not “it was good for . . “ but actually good!

Gluten Free Dairy Free Grilled Cheese

1 Tbl Earth Balance Buttery Spread

2 Slices Canyon Bakehouse 7 grain bread

1 Slice Chao Vegan Cheese

Additions - we added some left over roast beef, Green chilies are yummy too! Get creative!

Butter the bread, while you warm a skillet on medium low on the burner. Place 1 slice butter side down in the preheated pan and add the cheese and what ever additions you decide on. Top with slice number 2 butter side up. When the cheese starts to melt and the bread begins to brown, flip the sandwich to brown the other side. When that side is brown it is ready to devour! 


IMG_7362.JPG

One Pot Creamy Gluten Free, Dairy Free Pesto Chicken Pasta

Who said that you can't have comfort food when your diet is free of dairy and gluten. When we first started on this diet, I had trouble finding recipes that would satisfy my meat and potatos Cowboy and satisfy my love of pasta and cheese. Everything I found seemed to be either salad based or required special ingreadents that were difficult to find. Over time I realized I enjoyed finding recipes that were traditional comfort food and remixing them to work with our diet and ingredient that I can find at my local grocery store. The result are meals that friends can't tell are gluten free or dairy free!

On week nights, I count on quick and easy meals that don't leave the kitchen piled with dirty dishes! Actually it is the Hubby that appreciates one pot meals (I cook, he cleans). This meal was a hit and even with all of us scooping up seconds, there was enough for leftovers (another one of my favorite things). 

FullSizeRender.jpg

This recipe uses some of my favorite pantry essentials. If you want to know why I picked these particular things, keep reading. If you just want the recipe keep on scrolling my friend.

  • Pasta- I have tried many gluten free pasta brands and found that Barilla is my favorite, most will get mushy if you cook them even one second to long. Barilla holds up great even in this one pot meal.

  • Coconut Milk- I always have canned full fat unsweetened coconut milk, it is so versatile, I use it in savory and sweet recipes. Love Thai Kitchen, you can find it just about everywhere and the flavor isn't to strong making it ideal for recipes like this one.

  • Pesto- It is so nice to always have a jar of pesto on hand, it usually contains some Parmesan cheese, although it is not usually enough dairy to bother me (if you are really sensitite read the label or make your own). The Kirkland brand pesto from Costco is my favorite, it has lots of garlic, yum!

  • Cheese- When it comes to dairy free cheese, I stick with two brands, Field Roast Vegan Chao Slices or Trader Joe's Almond Mozzarella Style Shreads (99% dairy free). These two are my favorite, due to flavor, but if you have a favorite go ahead and use your favorite.

Ok, now back to the meat and potatoes, or rather the cheesy pasta . . .

FullSizeRender.jpg

Chop the chicken and season with garlic powder and salt and pepper. Add to olive oil to hot pan and cook the chicken.

IMG_0340.JPG

When the chicken is cooked stir in the coconut milk and chicken broth. Then add in the pesto (I love the flavor so I used heaping tablespoons).  Add the pasta making sure it is all submerged in the liquid, if it's not all submerged add a little bit more broth. Bring the mixture to a boil and then reduce to a simmer, place a lid tightly over it and leave it alone for 8-9 minutes. No peaking!

IMG_0344.JPG

When it the pasta is cooked, take off the burner and stir in the cheese. Eat immediately, but really who could wait! 

If you want the regular version it is here from MotherTyme.com

If you want the regular version it is here from MotherTyme.com

7 Minute Mom Makeup

Let's be real, we all want to look our best, but when your toddler will start tearing apart the house if you are occupied for more than 10 minutes it is our appearance that gets neglected. There are always times that you have to look presentable and a 7 minute makeup routine is a game changer! Girl you can do it, you can make time for you. It is amazing what putting on a little bit of makeup does for my mood and makes me feel ready for the day. I work full time and have a busy 2 year old, if I can do highlight and contour in less that 10 minutes, you can too! 

I have been using Maskcara HAC (highlight and Contour) makeup for almost a year now and I absolutely love it! It has given me more time in the morning to sleep in . . . lol, ya right! I have a toddler!! But it does give me a few more minutes to spend with my family before we all run off in different directions. 

Check out my easy routine. If you think this looks like something you want let me help you get color matched!

Our reason for a gluten free, dairy free diet

IMG_2021.jpg

When my daughter was about 2 months old she got a rash it started on her face and soon covered her whole body! She would start crying about 10am and not stop for the rest of the day and nothing would calm her down! So of course as a first time mother, I was crying constantly too!

I brought it up to our doctor and of course the rash had calmed down a bit, in time for our visit! He suggested we just wait it out, see if it gets any worse.
I turned to my Mom for advice and she reminded me the both my sister and I had intolerances to certain foods that she ate while breastfeeding.

So now I was on a mission to figure out what food it was my daughter couldn’t tolerate! I limited my diet to only things that were considered ‘non allergens’ (a lot of plain rice or potatoes with meat and a salad with a dash of oil and vinegar). Almost immediately the crying stoped! She was a whole new baby!! After 3 weeks the rash had disappeared!! I began adding thing slowly back into my diet.

Turns out any legumes (think beans and peas) caused crying and discomfort. But what seemed to cause the crying and the bumpy red rash - dairy and wheat!

The doctor said she would probably grow out of it, my research said most kids grow out of these intolerances by 9 to 12 months.
But here we are almost 2 1/2 years later and she can eat beans and peas but not dairy or wheat We are now a gluten free/ dairy free family ready or not!